
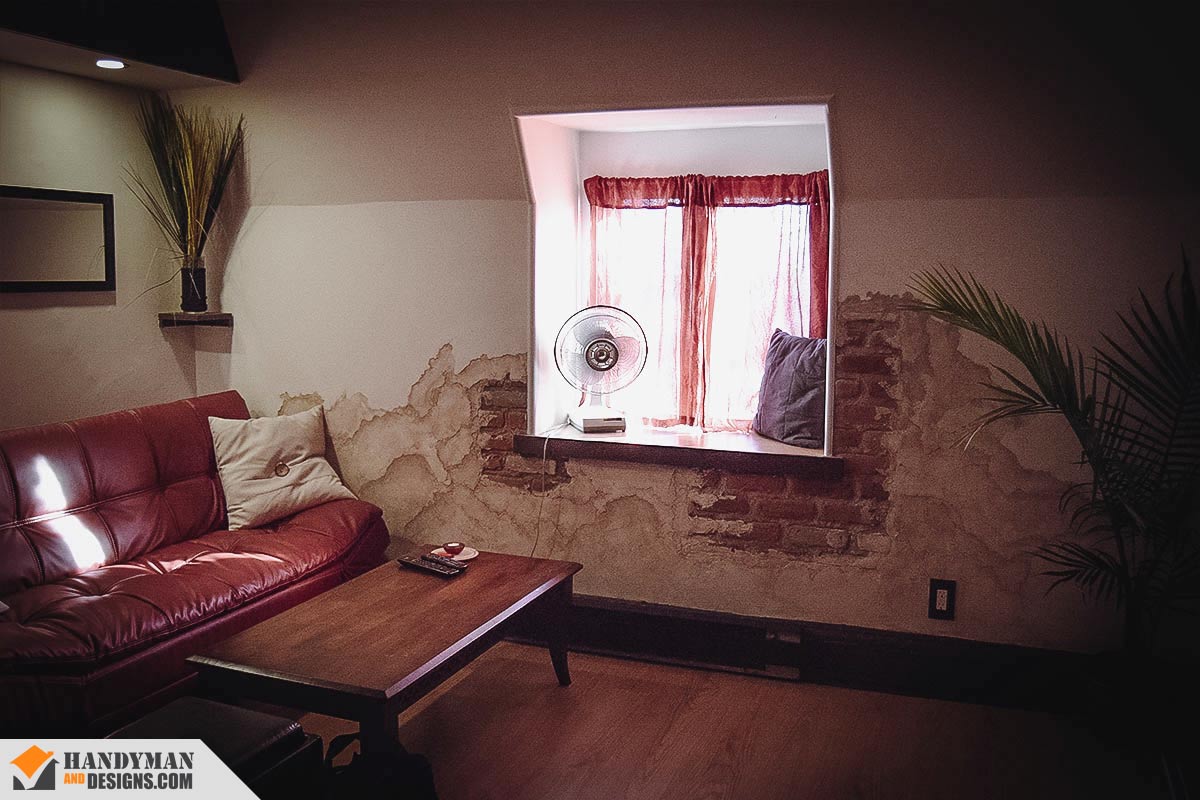
How We Crafted a Faux Brick Plaster Wall
Turning Dust, Plaster, and Patience Into Loft-Style Magic
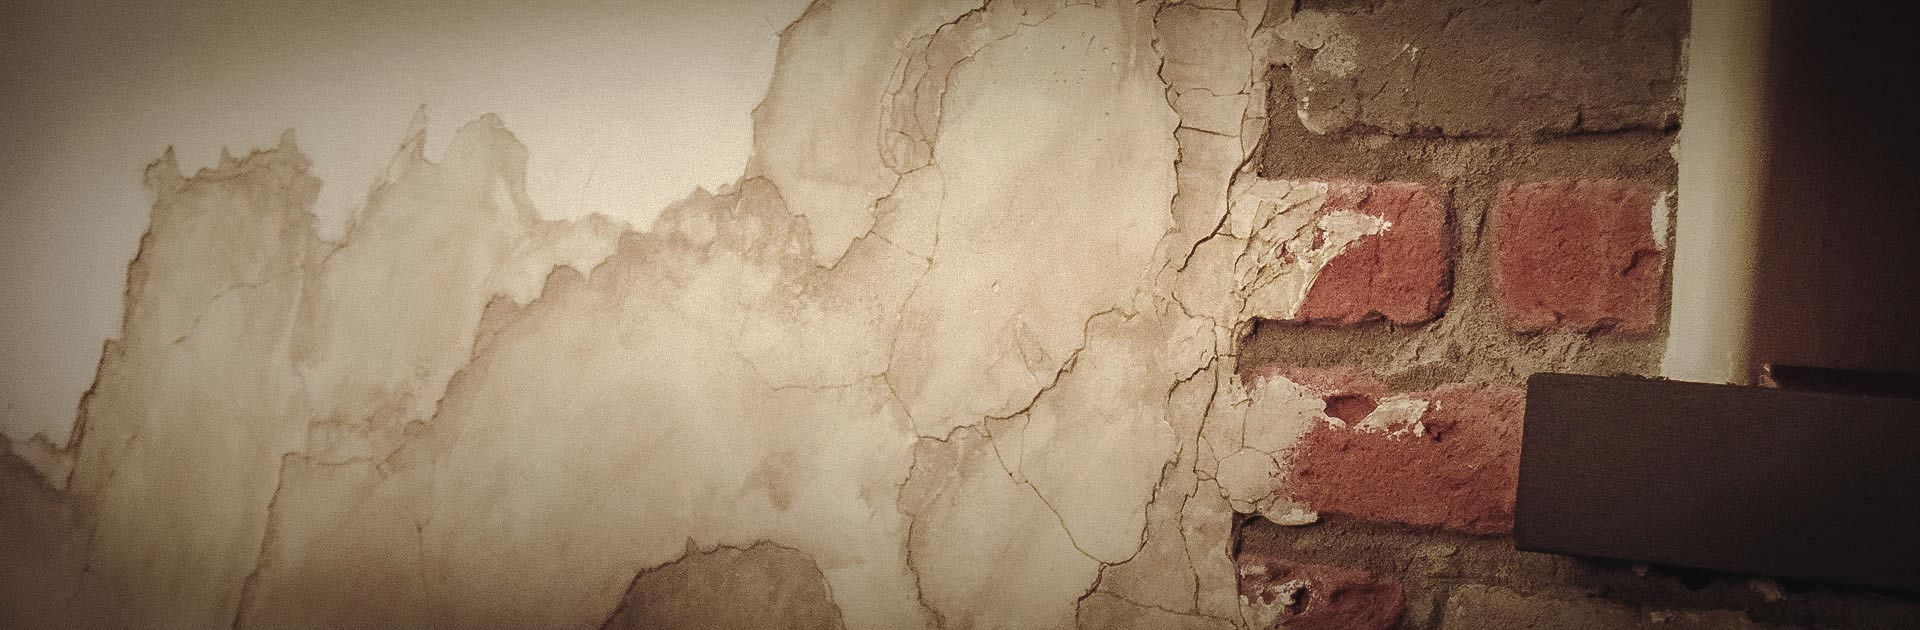
An artistic mash‑up of faux plaster and faux brick—without the faux pas. We carve clean channels, back them with thin plywood, butter on a skim of plaster, lay in brick veneers, then ghost them under another coat so the wall lands “loft chic” instead of “basement DIY.” Between passes we chisel crisp edges and finish with warm brown washes. For a solid primer on techniques, This Old House has a great walkthrough. Curious what else we build around Montréal? Have a peek at our Photo Gallery.
Table of Contents
Demo & Prep (1–2)

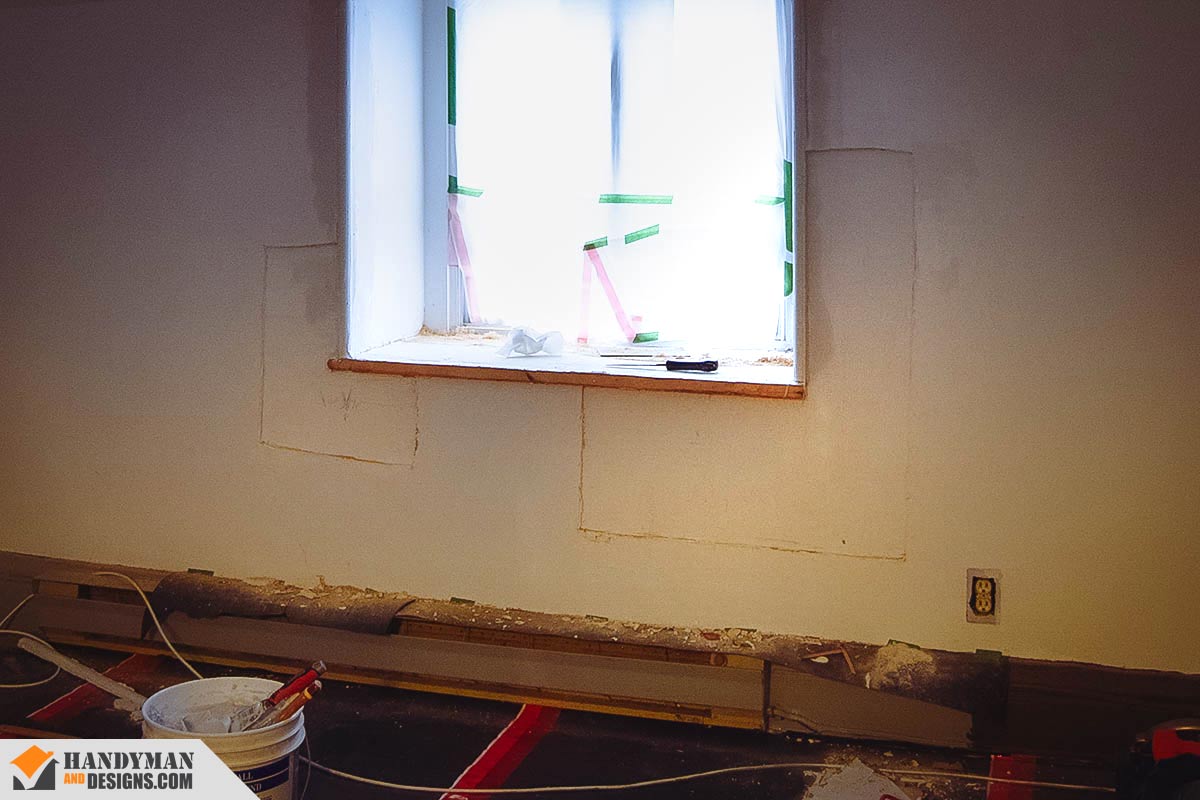
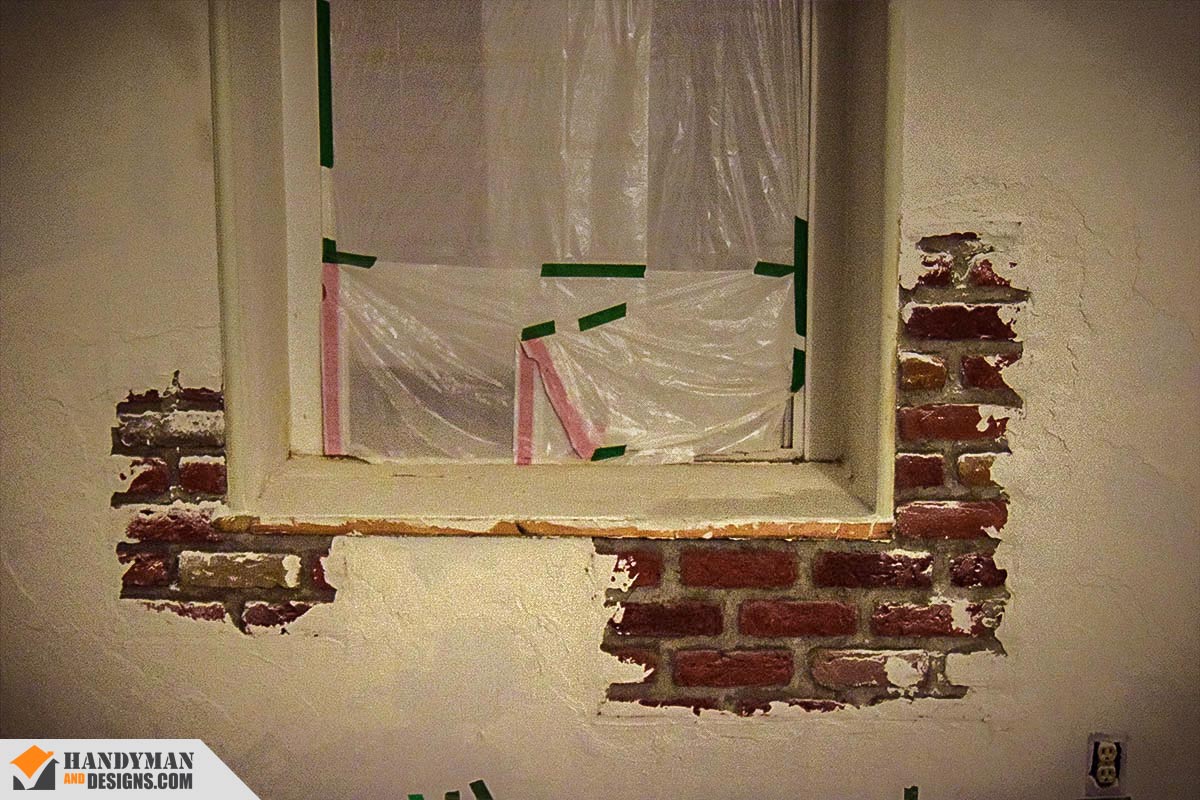
The Adventure Begins: Foam, Bricks, and Big Openings
We kicked things off by carefully carving out wall sections. Thanks to leftover bricks from our Gallery Studio Project, we knew exactly how big the holes had to be. Bonus discovery: the building was spray‑foam insulated. Great for winters—less great for us, since we had to trim it back to slide new drywall deeper inside the cavity.
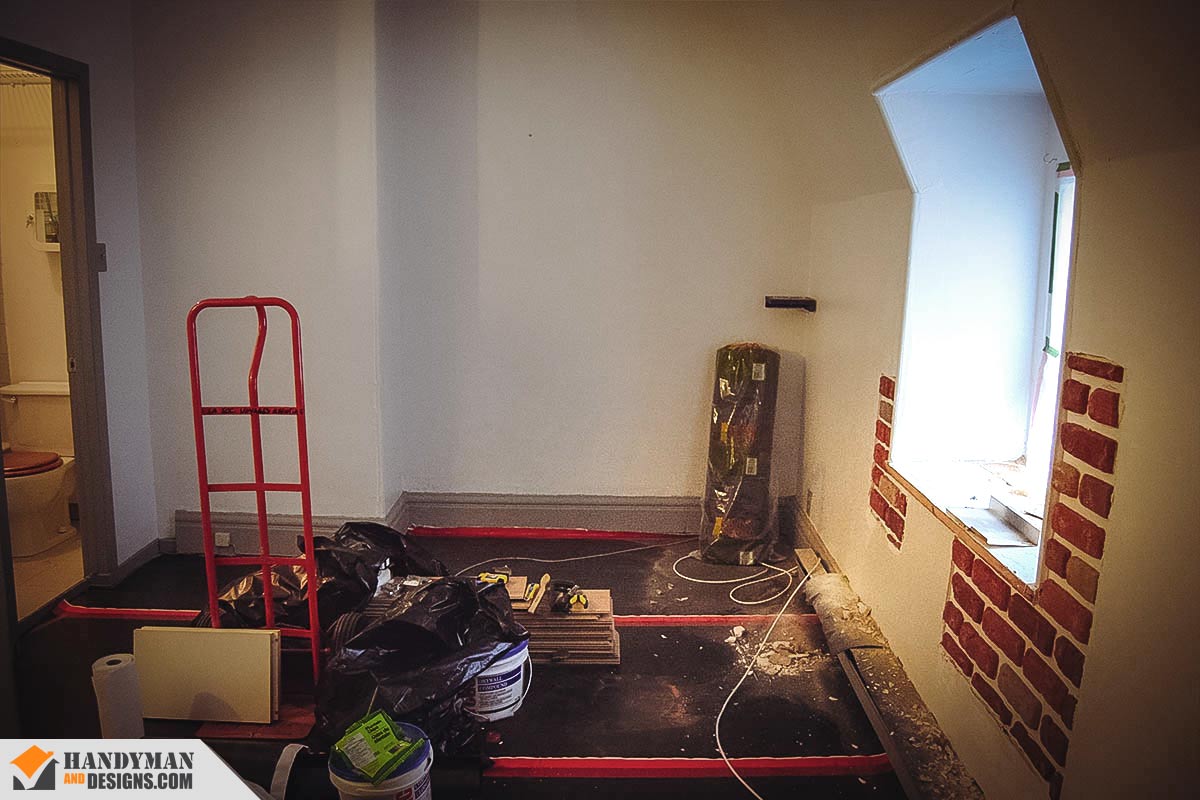
Prepping for Plaster: The Subtle Art of Setting Back the Wall
Drywall Time! We set the boards back just enough so the faux bricks would sit slightly recessed. Why the dip? Because plaster was coming next, and if the bricks stuck out even a hair, the finish would’ve screamed “Bad Reno!”
Brickwork Begins (3–4)
3. Brick Day: Sticking to the Plan (and the Wall)
Brick-laying day. We glued the faux bricks with tile adhesive and checked every row with a torpedo level. Equal spacing was the goal—because uneven bricks might fly in an ancient castle, but not On Our Wall!

4. Enhancing the Illusion with a touch of Mortar
Mortar went on to seal the illusion. Just like the real stuff, this mix can chew up skin, so gloves were a must! Call it our “Wafety Rirst” moment.
Plastering Adventure (5–7)
5. The Bold Choice of Stepping up Plaster
Plaster layering began—one coat at a time. Normally, plaster is smoothed into perfection, but here we wanted deliberate steps, almost pyramid-like. A little architectural rebellion never hurt anyone.
6. Plaster Meets Brick: One-Way Commitment
With artistic flair (and a lot of squinting), plaster was feathered across brick and wall. Once it touched brick, there was no going back—so every swipe had to count.
Feathering? View some videos on tiktok for inspiration: How to Feather Plaster
7. Giving the Wall a Soul (One Swipe at a Time)
To keep things interesting, the trowel didn’t just drag—it danced, poked, and conspired to cram Chaos into a Neat Design. Wavy lines, jagged edges, sharp accents—like giving the wall a soul that had to be beaten into Existence!
Painting & Washes (8–9)
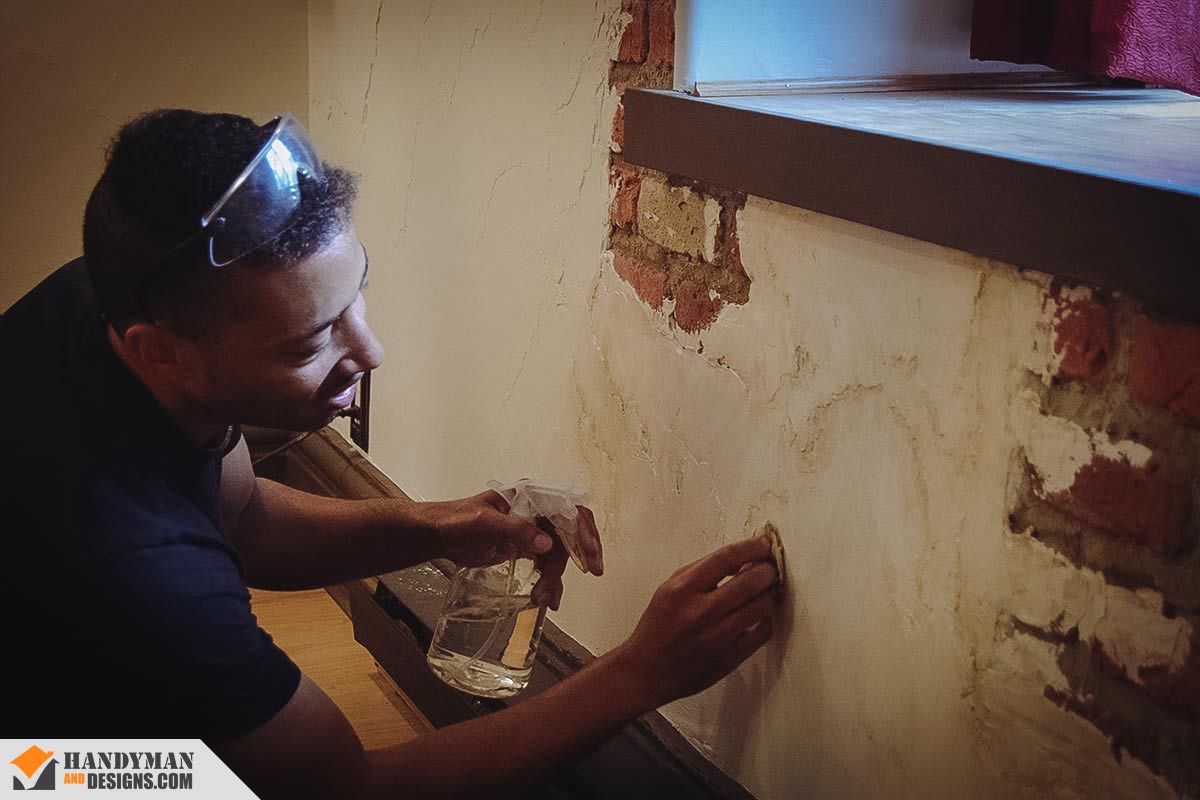
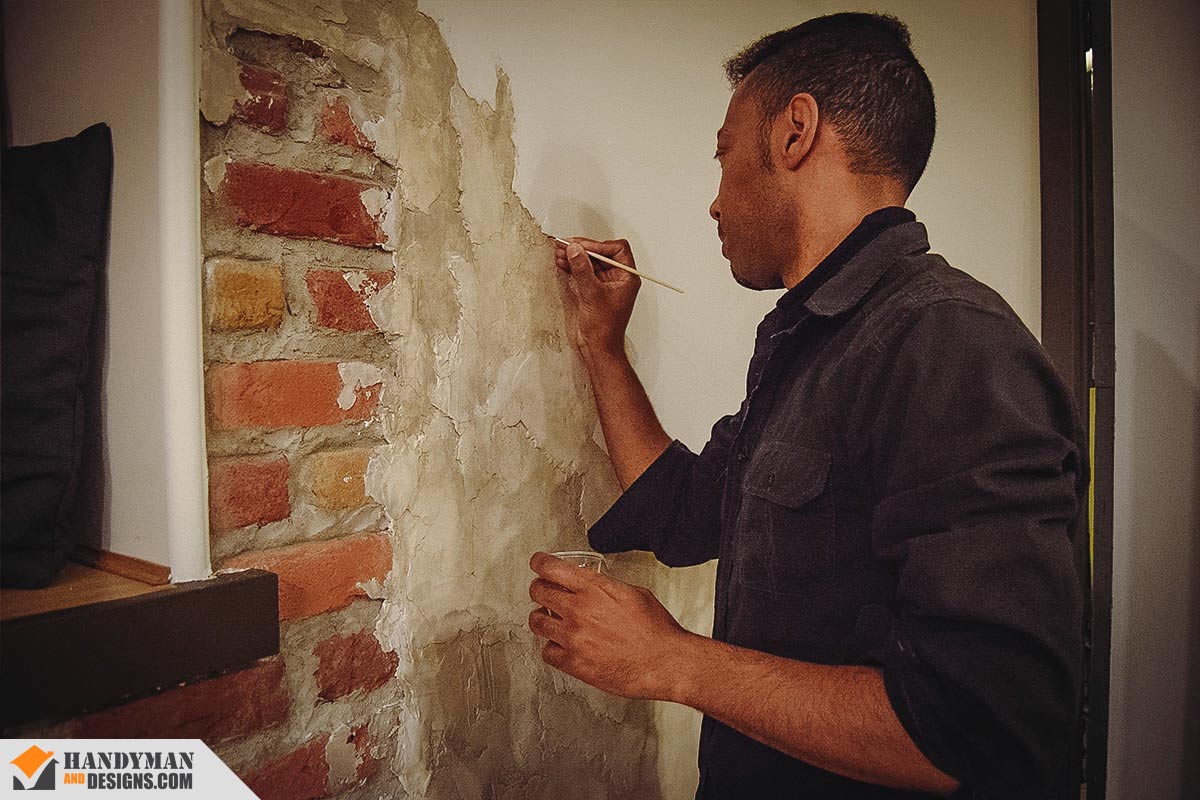
8. Shadows in the Valleys, Highlights on the Peaks
Once cured, it was Paint-Wash Time. Diluted brown paint was sprayed, ragged, wiped, and coaxed into the low spots, giving depth and shadow while keeping the peaks brighter. Think: Faux 3D Effect!
9. Midway Magic Revealed
A progress shot showed just the wash—and honestly, it already looked Pretty Darn Cool!
Detailing & Finishing (10–13)
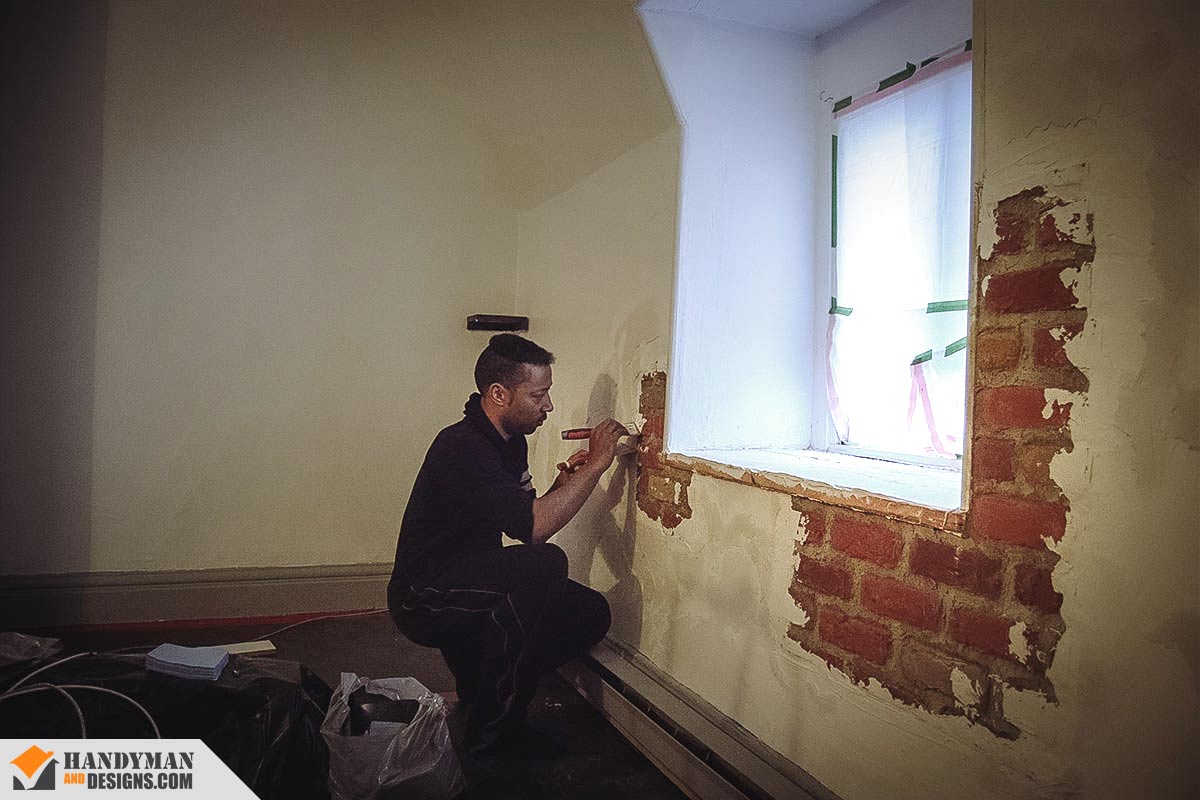
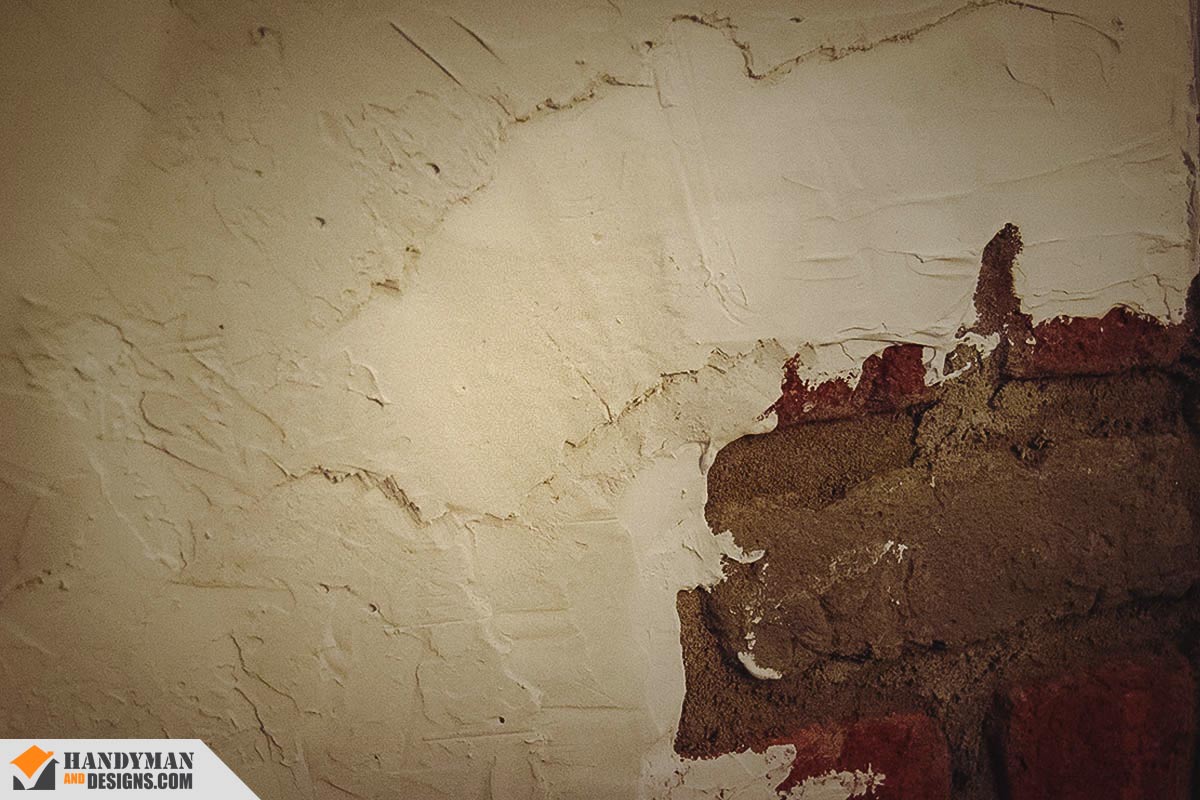
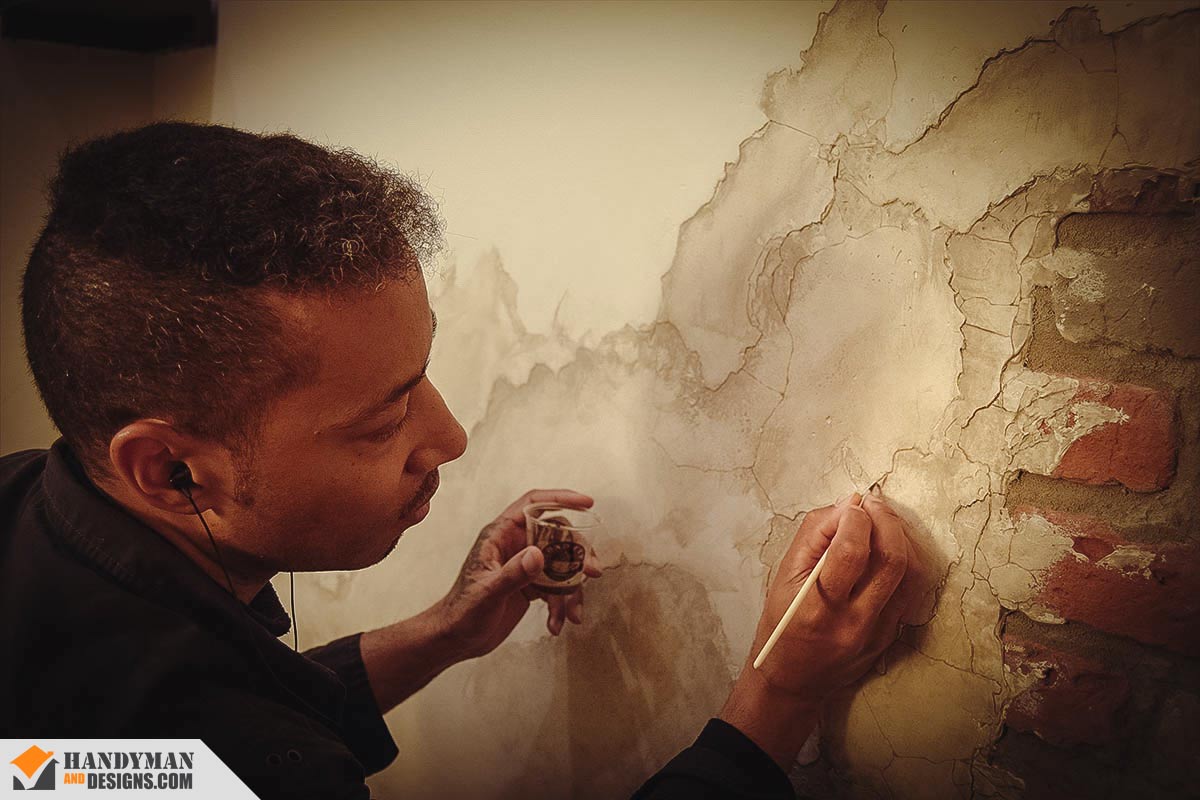
10. Broken with Purpose: The Art of Faux Fissures
Detailing day. Less water, more pigment! We traced the plaster’s edges and cracked in some faux fissures for drama. It was oddly satisfying, like sketching and doodling—but with way more commitment.
11. Because One Side Just Wasn’t Enough
Same treatment went on the opposite side, because symmetry keeps everyone sane. Like a modified famous saying “An apple here AND an apple there each day, this keeps the doctor at bay!”
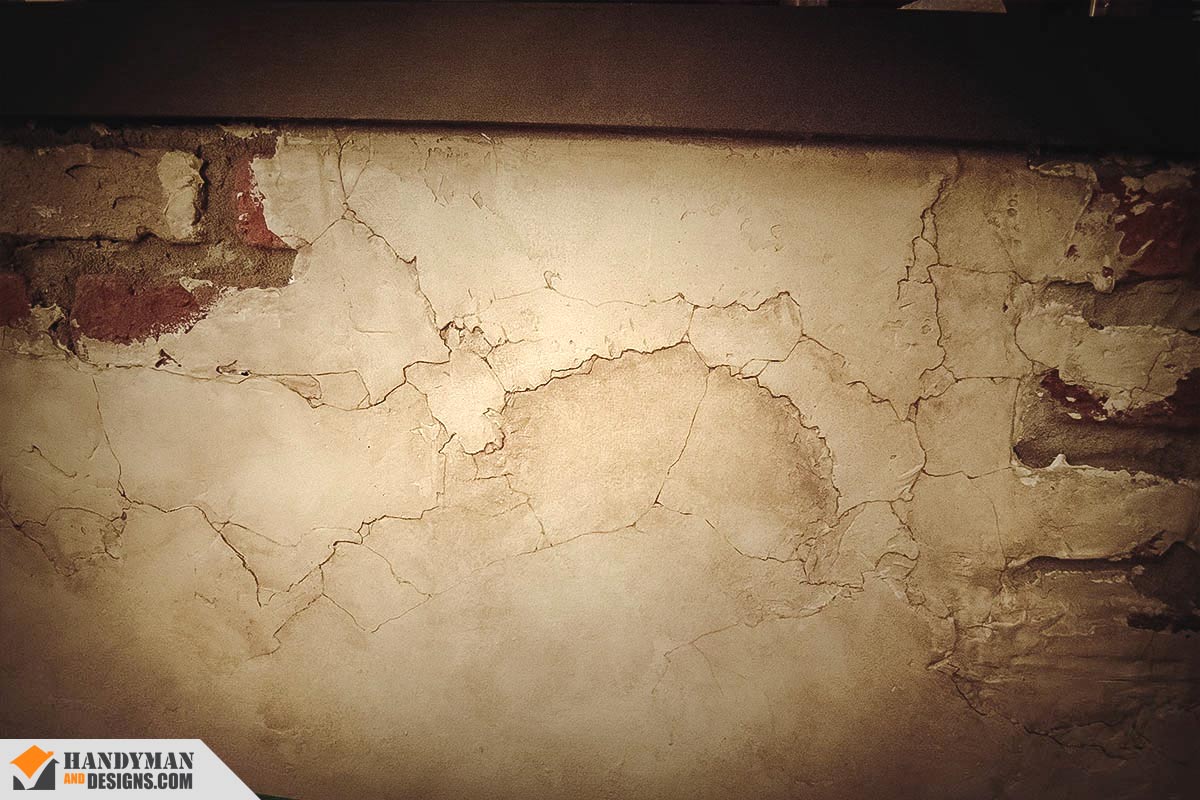
12. The Devil (and the Drama) Is in the Details
Close-ups revealed the cracks in all their glory—fake… but modestly convincing!
13. More Cracks = More Character
Another detail shot, because let’s be honest… we were kind of proud of the cracked plaster look.
Grand Finale & Reflections (14–15)
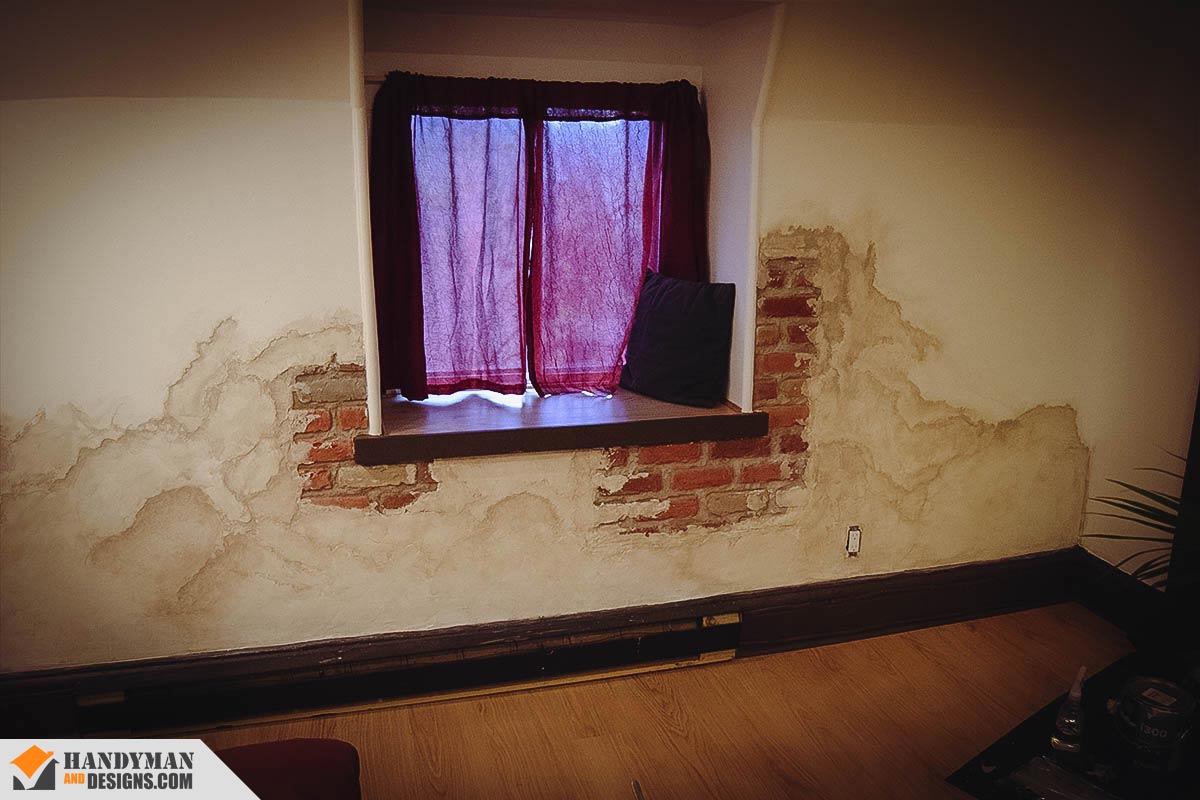
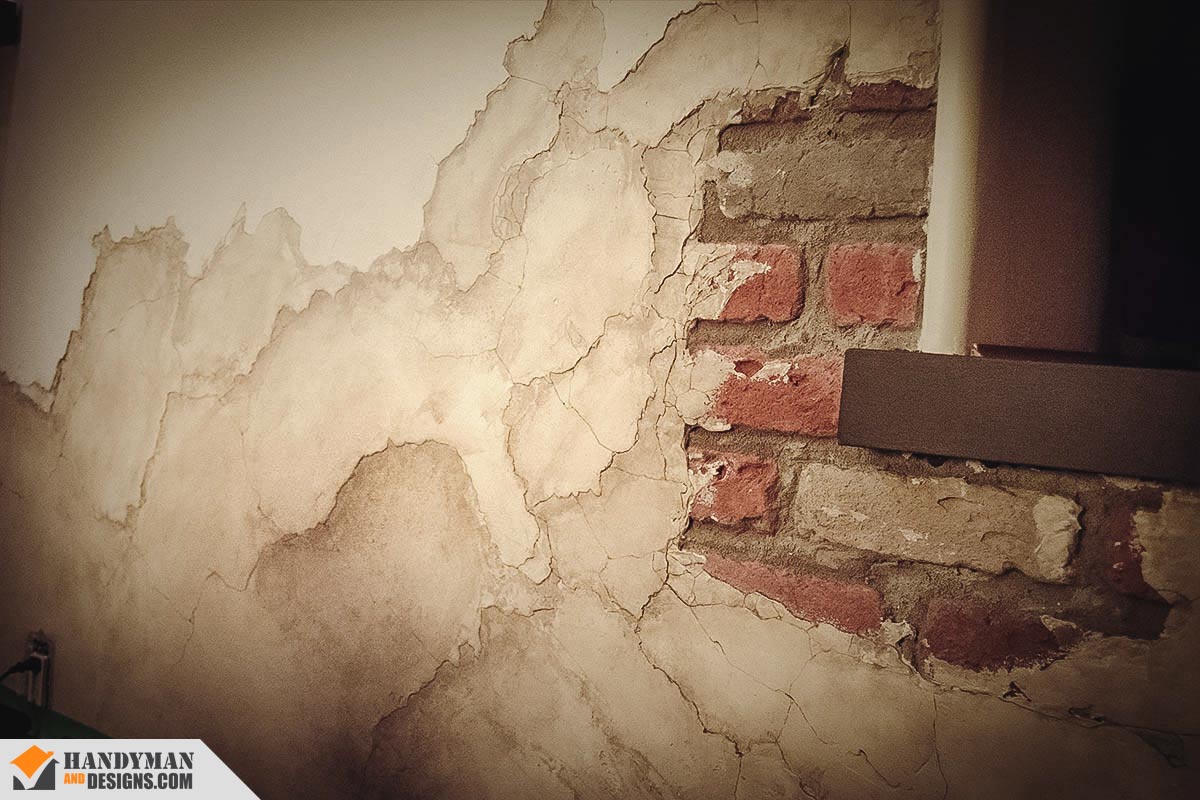
14. From Dust to Design: The Grand Finale
Finally, the grand reveal. What began as drywall surgery ended up as a wall with attitude: part loft, part ruin, and all personality! If every project was this fun, we’d never stop being a Handyman!
15. A Wall’s Teachings About Chaos and Magic
Every wall teaches you something. Here, we chased bricks, battled plaster, and tamed paint like it was a wild animal. And yet, standing in front of the finished wall today feels oddly calming—like the chaos of the past few days, was Well Worth The Adventure! It’s a reminder that sometimes, the best projects are the ones where you stop aiming for perfection and let the mess become the Magic.
View more of our Custom Build Projects
Tool Recommendations
Outils recommandés
Note: When you make a purchase through our links, we may earn commissions from Amazon, ClickBank or other retailers at no extra cost to you. Our recommendations are based on our personal and professional experience using products we suggest, and we recommend them because we believe they are genuinely helpful, not because of the small commissions we may receive. Please only purchase a product if you believe they will help you achieve your goals.
Note : Lorsque vous effectuez un achat via nos liens, nous pouvons recevoir des commissions d’Amazon, ClickBank ou d’autres détaillants, sans frais supplémentaires pour vous. Nos recommandations sont basées sur notre expérience personnelle et professionnelle avec les produits que nous suggérons, et nous les proposons parce que nous croyons qu’ils sont réellement utiles, pas à cause des petites commissions que nous pourrions toucher. Achetez seulement si vous pensez que ces produits vous aideront à atteindre vos objectifs.
THINKWORK Putty Knife Set - 14Pcs, Stainless Steel
Scraping, spreading, smoothing—this set has the right size for almost every small to medium job. From drywall to paint prep, we at Handyman and Designs chose this kit because it gives us options without having to overthink it. Why buy a single spade at the hardware store when the same cost gets you a full lineup of stainless steel blades? Stainless steel? Yes, no rust, no regrets!
View on Amazon
Ensemble de couteaux à mastic THINKWORK - 14 pièces, acier inoxydable
Gratter, étaler, lisser — cet ensemble a la bonne taille pour presque tous les petits et moyens travaux. Du gypse à la préparation de peinture, chez Handyman et Conceptions nous avons choisi ce kit parce qu’il nous donne des options sans se casser la tête. Pourquoi acheter une seule spatule en quincaillerie quand, pour le même prix, vous obtenez un ensemble complet de lames en acier inoxydable? Acier inoxydable? Oui : pas de rouille, pas de regrets!
Voir sur Amazon

Firecore 360° Laser Level Tool
Green means go—and with this laser level, it means Go Visible. Unlike those dim red lasers that vanish in sunlight, the green beam cuts through daylight so you can actually see what you’re doing. Plus, the 360° horizontal projection keeps every wall in sync, so whether you’re hanging art or running trim, everything stays perfectly aligned on every wall of a room.
View on Amazon
Firecore Niveau Laser 360°
Vert veut dire Go—et avec ce niveau laser, ça veut dire Go visible. Contrairement aux lasers rouges pâlichons qui disparaissent en plein soleil, le faisceau vert traverse la lumière du jour pour que vous voyiez vraiment ce que vous faites. Ajoutez la projection horizontale à 360°, et chaque mur de la pièce reste en parfait alignement—que vous accrochiez des cadres ou installiez des moulures.
Voir sur Amazon

VEVOR 4-Piece, 48/24/16/10 Inch, Box Levels Set
We picked this VEVOR 4-piece level set because it saves us from the “one size fits none” problem. Hanging a shelf? Grab the 10". Checking a long beam? Pull out the 48". With four sizes in one kit to choose from (plus a bag that keeps them from rolling under the van seats), you’re ready for any job that demands things stay square, plumb, and not embarrassing.
View on Amazon
VEVOR – Ensemble de 4 niveaux, 48/24/16/10 pouces
Nous avons choisi cet ensemble de 4 niveaux VEVOR parce qu’il nous sauve du problème « une taille qui ne convient à rien ». Accrocher une tablette ? Prenez le 10". Vérifier une longue poutre ? Sortez le 48". Avec quatre tailles réunies dans un seul kit (et un sac qui empêche le tout de disparaître sous les sièges du camion), vous êtes prêt pour n’importe quel travail qui exige que tout reste droit, d’aplomb et pas gênant à regarder.
Voir sur Amazon
Tool Purchases to AvoidAchats d'outils à éviter
Not every tool on the shelf is worth a spot in your precious toolbox. Skip the ones that slow you down, break too soon, or test your sanity more than your skills—the list below highlights a few worth avoiding.
Tous les outils sur la tablette ne méritent pas une place dans votre coffre. Évitez ceux qui vous ralentissent, qui cassent trop vite ou qui mettent plus à l’épreuve votre patience que vos compétences—la liste ci-dessous en présente quelques-uns à éviter.

Red Laser Level Tool
Red laser levels? Forget it! The second sunlight shows up, they disappear, leaving you squinting and second-guessing instead of measuring. A green beam with a 360° horizontal line is The Real Upgrade—bright in daylight and perfect for making shelves, trim, or artwork line up across an entire room in one-easy-step.
Niveau laser rouge
Les niveaux laser rouges? Oubliez ça! Dès que le soleil apparaît, ils disparaissent, vous laissant plisser des yeux et deviner au lieu de mesurer. Un faisceau vert avec une ligne horizontale à 360° est la vraie mise à niveau — visible en plein jour et parfait pour aligner des tablettes, des moulures ou des cadres sur tout un mur en une seule étape facile.
Faux Walls, Real Fun
We had a blast turning an ordinary wall into a neat faux brick plaster design. It wasn’t just cutting holes and slapping on plaster—it was equal parts puzzle, endurance test, and the occasional “wait, is that crack intentional?” moments. The process was messy, creative, and honestly the kind of project that makes you forget it’s work.
- Want more wall adventures? Check out our other Special Projects
- Curious about real builds? Browse the Photo Gallery
- Need pro tricks? Our DIY Blog is full of experiments that worked (and a few that didn’t)
- Thinking of your own wall redo? Drop us a line through our Contact Page
Working with plaster and faux brick is like crafting a stage set—you know it’s not real, but when the lights hit, it proudly bows and steals the applause. From start to finish, this was a fun project! If you ever need a hand with your own wall adventure, please don’t hesitate to reach out. We’re always happy to help.