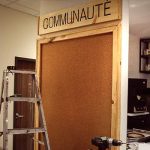
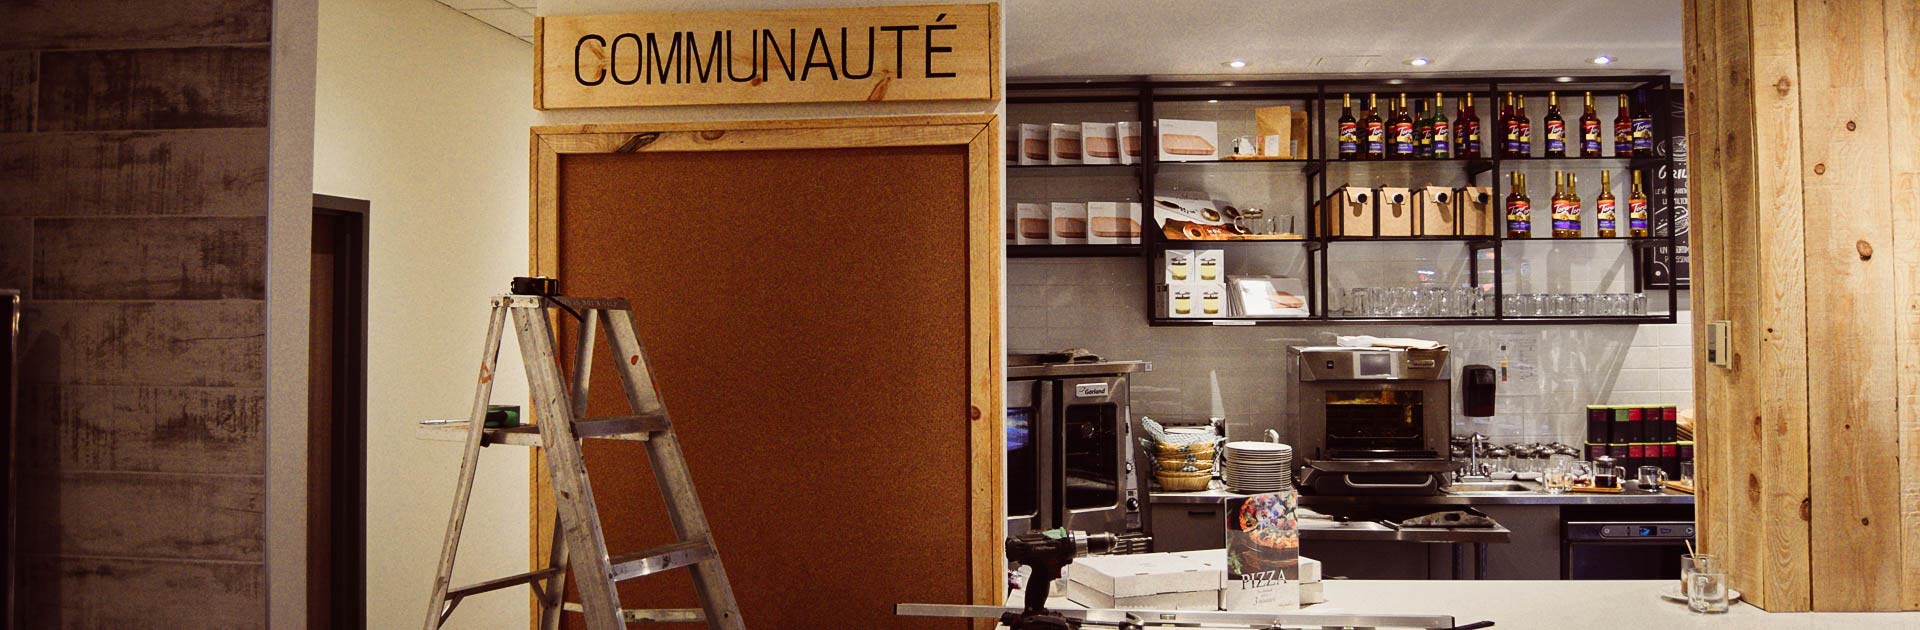
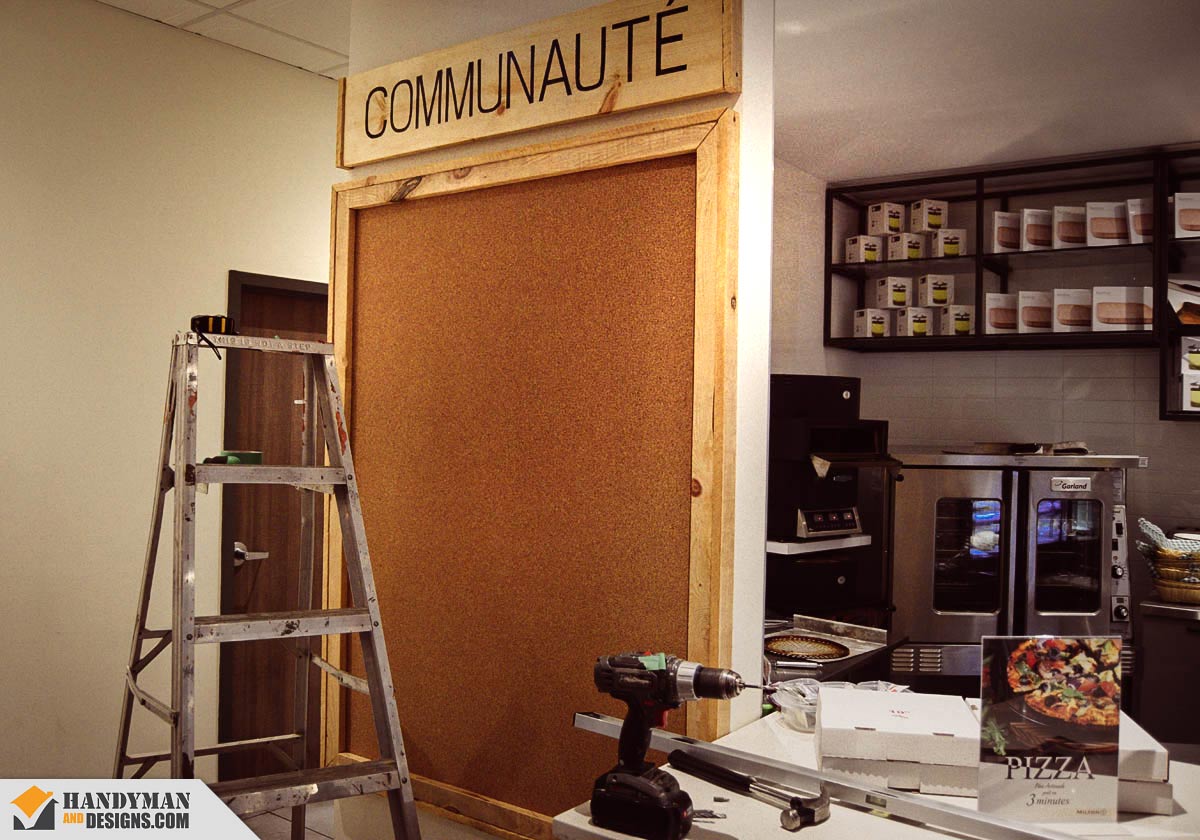
Custom Community Cork Board
Custom Projects
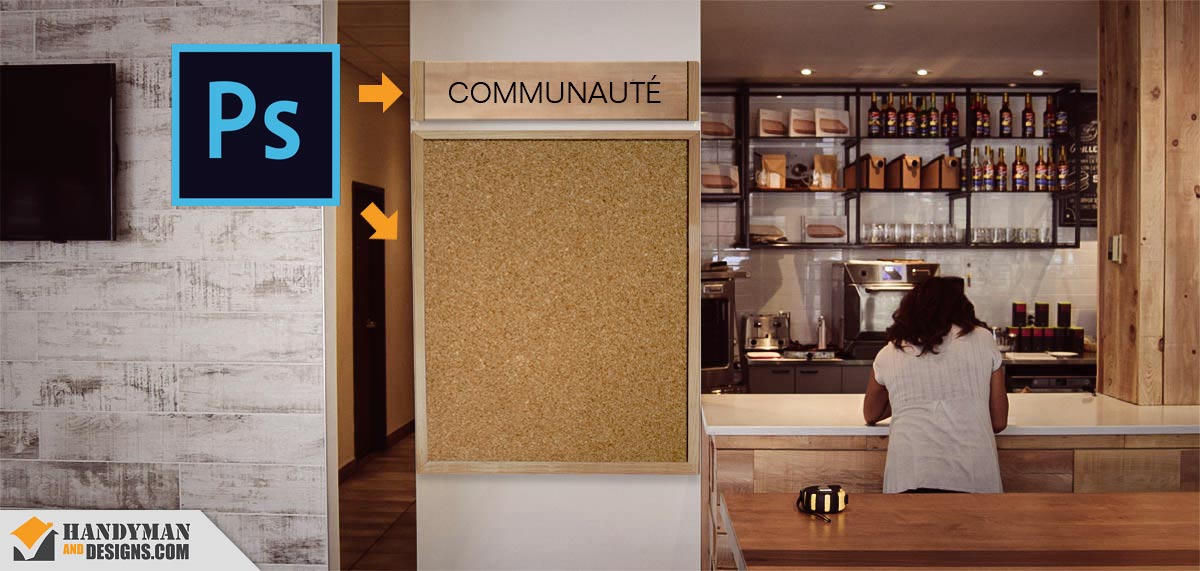
The Art of Creating a Custom Community Cork Board
Picture a vibrant collage of local events, quirky art, personal messages, and foodie recommendations, all in one place. A community board is far more than a simple notice board; it’s a microcosm of community life, an ever-evolving tableau fostering a sense of belonging among patrons.
The beauty lies not only in its social function but also in its simplicity to construct. Take, for example, Milton B, an urban café nestled in Montreal’s McGill Ghetto area. Keen on fostering a stronger community spirit, they reached out to Handyman And Designs with a vision to install a community cork noticeboard at their main point of sale.
Here are the details of how it went down, along with a short DIY guide to help inspire you to craft a custom cork noticeboard of your very own.

Our Client’s Requirements
To amplify the lively atmosphere of Milton B, and accentuate its role as a community hub, design and construct a Custom Community Cork Board. This board will serve as a creative platform for patrons to pin up events, messages, and a diverse array of local happenings.
The requirements:
- Utilize natural wood for the framework to provide a rustic, inviting feel.
- Incorporate a cork surface, ideal for easy pinning and removal of various notices.
- Embellish the top with a painted title – “Community” – to designate its purpose and invite participation.
- Construct the board to be as large as comfortably possible to fit on the available wall space, maximizing its presence and functionality.
A Step-By-Step Guide
How to Build Your Own Community Cork Board
Ever thought about adding a splash of community spirit to your restaurant? A Community Cork Board might just be the perfect addition. The following is a detailed, yet straightforward, nine-step guide that will take you through the process of building a community cork board for your restaurant. Let’s get started!
01
Plan Your Space
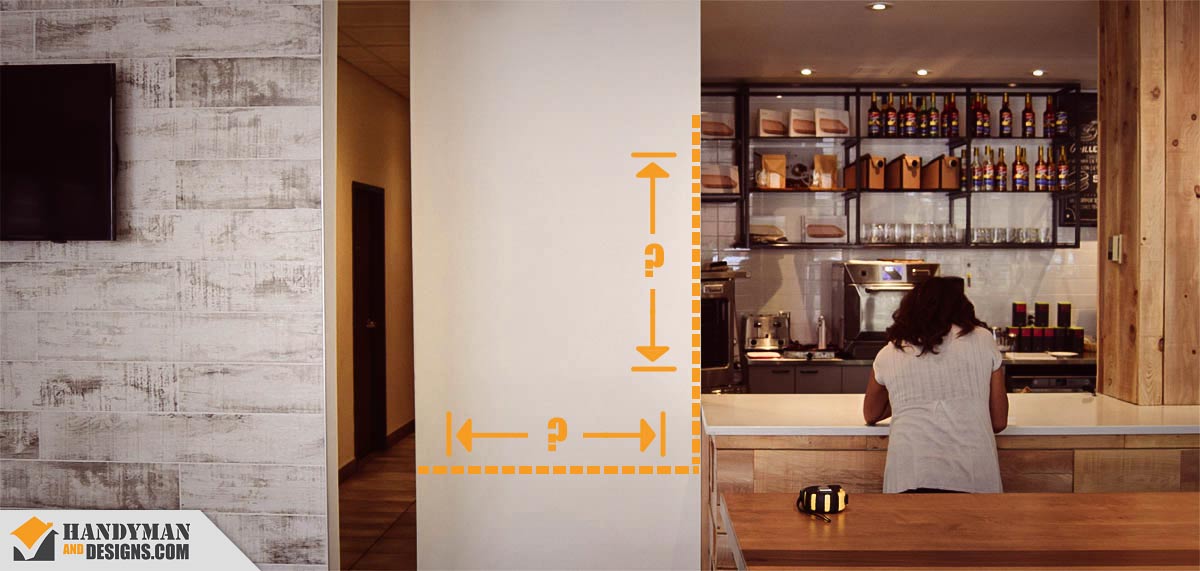
Before you begin, measure the wall where you’ll hang the board. Think about how the board will fit in with the rest of the space’s decor. Plan for a design that will stand out, yet blend in harmoniously.
02
Create a Sketch or Rough Mockup
Start by visualizing your board, either with a hand-drawn sketch or a digital mockup using a tool like Photoshop. This crucial step helps you map out the relative proportions of the board’s components, refine its overall style, identify necessary materials, and plan its placement on the wall. By doing so, you’ll have a clear blueprint to guide the following steps of the project.
03
Gather Your Materials
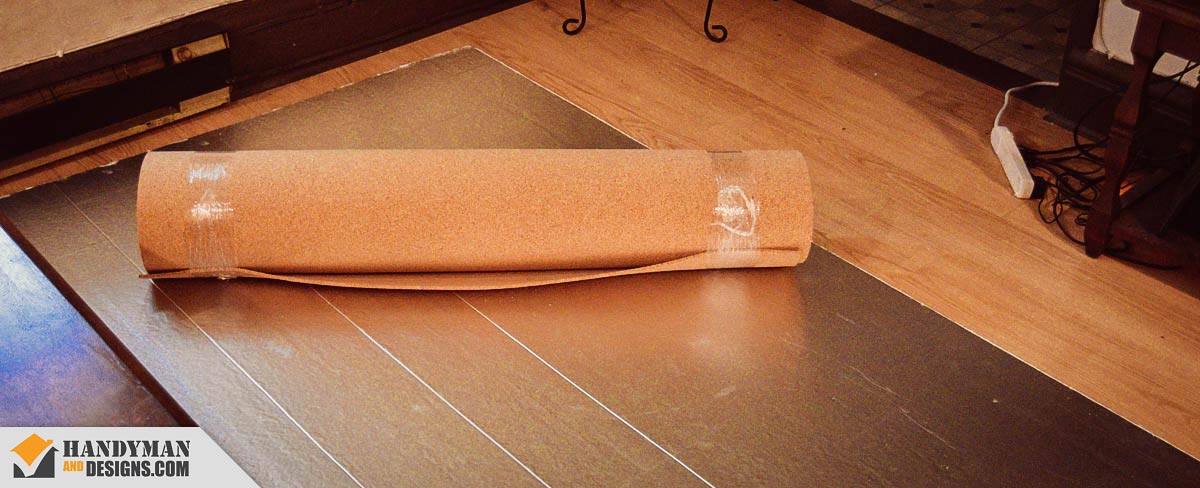
For this project, you’ll require a sheet of cork, an insulation foam board of equivalent size, frame-worthy wood, screws, wood glue, an x-acto knife, a saw, a drill, sandpaper, and paint for the title. The size of your materials should align with your wall space measurements. If you’re planning to construct a large community board, consider renting a table saw or circular saw, especially if you don’t already have access to one. Having the right tools on hand will significantly simplify your crafting process.
04
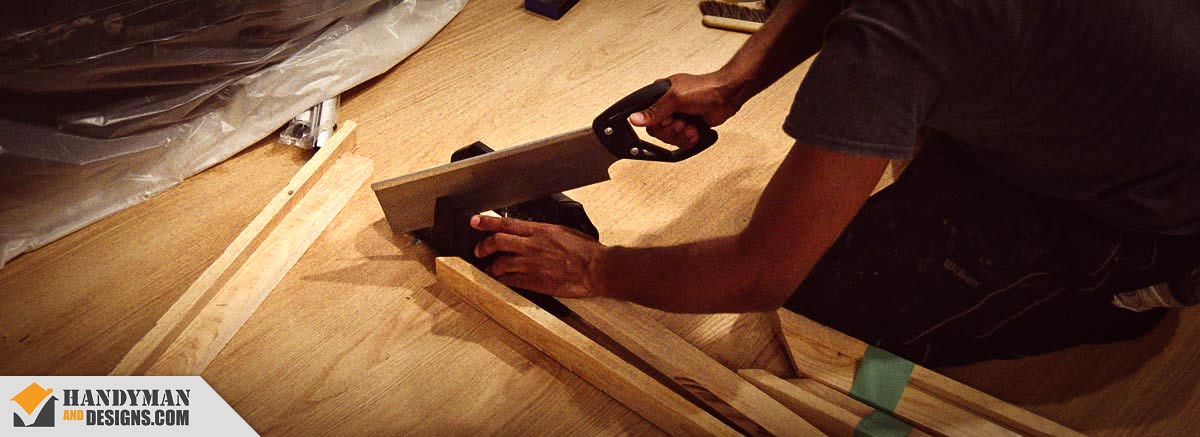
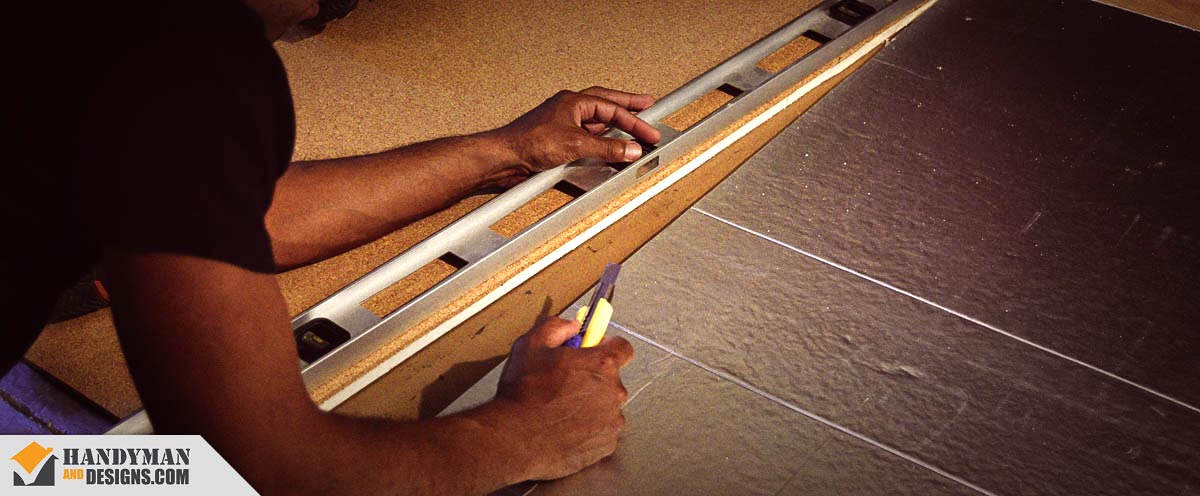
Frame Construction and Cutting Precision
Kick off the actual building process by crafting the frame. Cut your chosen wood pieces according to the dimensions you’ve planned. Aim for straight edges and perfect right angles to ensure a neat fit against your wall and a seamless look for your frame. Consider slicing your corner pieces at a 45-degree angle for a more polished finish.
Pro Tip: If you’re not a Professional Handyman, it’s wise not to cut all your pieces at once, banking on perfection. Instead, cut your pieces gradually. This approach gives you room to rectify any inaccuracies, should your cuts be slightly short or long. Not only does it save you time, but it also prevents unnecessary trips to the hardware store for replacement materials due to minor mistakes.
05
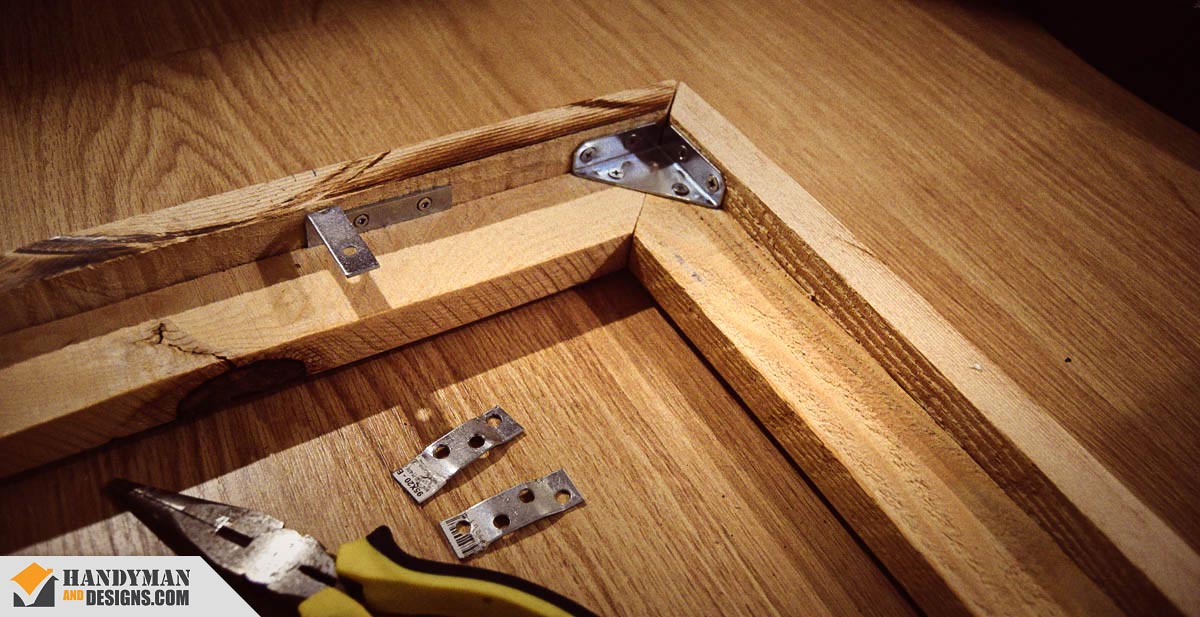
Assemble and Secure the Frame
Begin by using wood glue at the corners to join your pieces firmly. While the glue is still wet, you may opt to use picture frame corner braces for additional stability and alignment. Utilize whatever tools you have on hand to maintain the 90-degree joints in place while you continue your work. Once you’ve finished assembling, allow the frame to sit undisturbed for 24 hours to let the wood glue dry completely, ensuring a solid structure for your board.
06
Cut your Foam and Cork Boards
Next, measure and cut your foam and cork boards to snugly fit within your wood frame. The foam board acts as an optimal backing for the cork, given its pin-friendly pliability. After making your cuts, it’s time to apply commercial-grade Rubber Cement to bind the foam and cork boards together. Ensure the cement is spread on both surfaces meant for attachment and leave it to set for roughly 15 minutes before uniting the pieces. But be cautious – any misalignment at this stage could be permanently fixed once the boards bond. For larger boards, having a friend to help with the alignment can be invaluable.
07
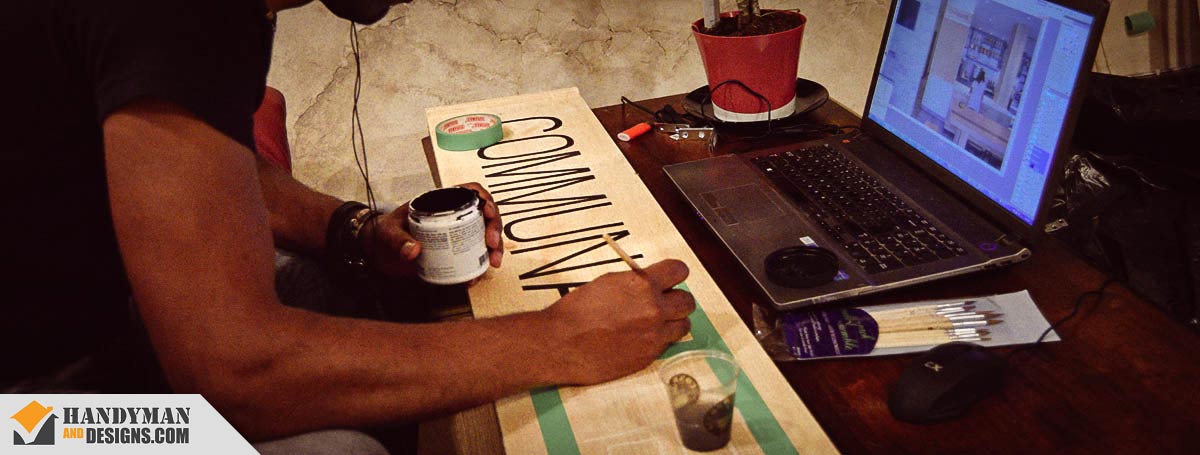
Paint the Title
Now, it’s time to add personality with a painted title at the top of your board. In our case, we chose the French translation of “Community”. This title serves a dual purpose: it outlines the board’s function and fosters participation from your patrons. Start with a pencil to sketch the outline, using green tape to protect areas you don’t want painted. Once you’ve completed the painting, allow it to dry thoroughly before progressing to the next step.
08
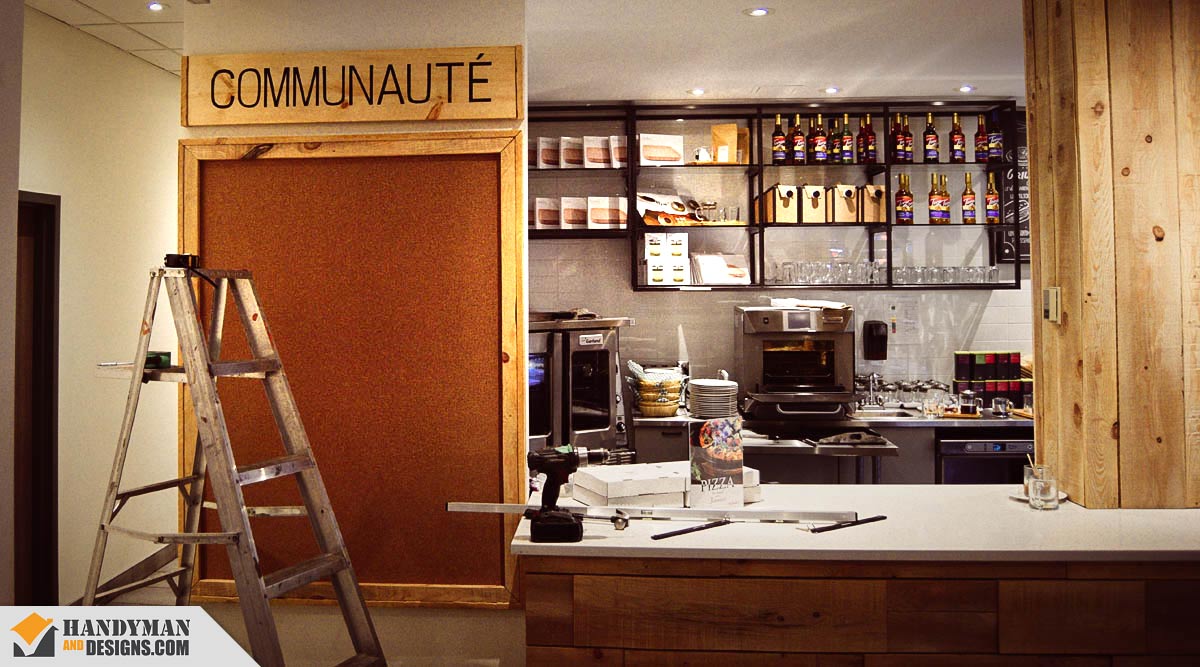
Mount the Board to the Wall
Locate the studs in your wall for a sturdy installation. Use a drill to secure the board to the wall, being sure to keep it level. If your board is sizable and heavy, it would be wise to recruit a friend for assistance during this step. Ensuring your community board is safely and securely mounted is paramount for its longevity and the safety of your patrons.
09
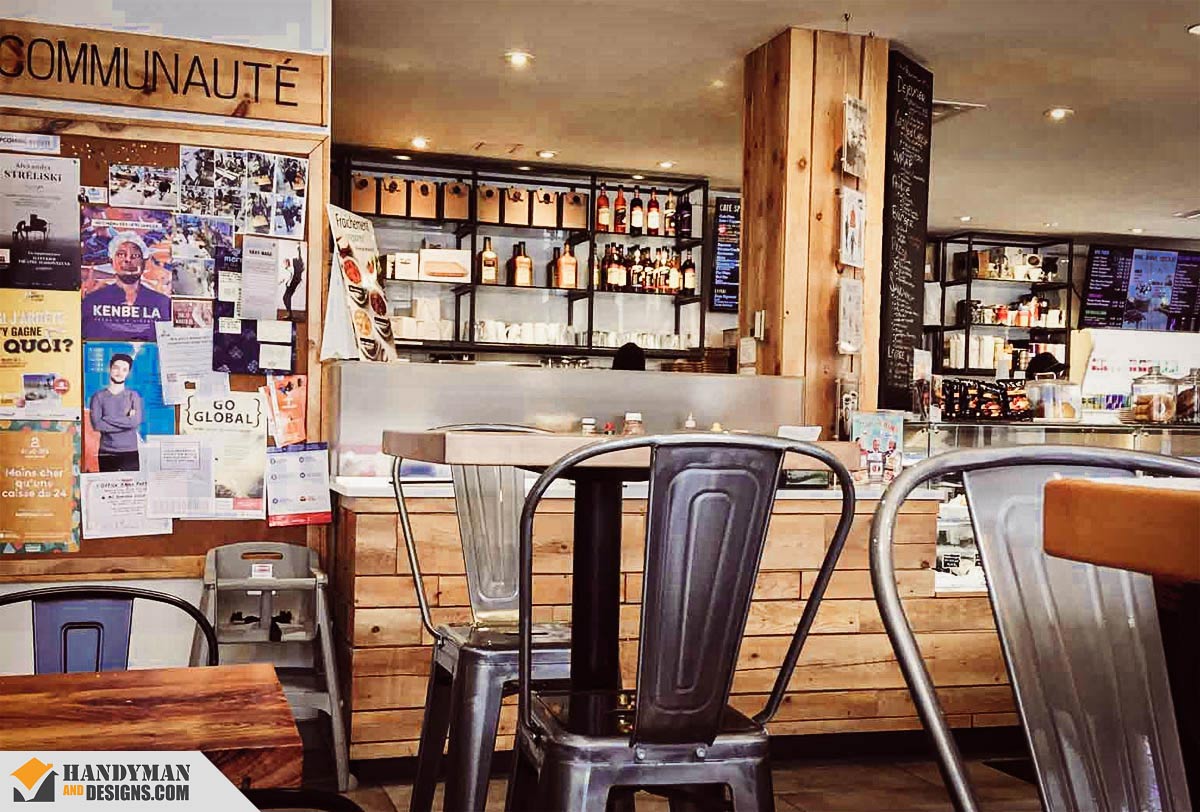
Encourage Patron Interaction
With your Community Cork Board now in place, it’s time to encourage your patrons to engage with it. Make pins available, and consider sparking the interaction with a few pinned items of your own – perhaps a local event flyer or a welcoming note. As your patrons begin to use the board, it will become a vibrant hub of community activity, adding to the joy and community spirit of your establishment.
Well done! Your patrons are sure to adore this new addition! After all, a cork board isn’t just a decorative feature – it serves as a dynamic hub for community building, idea exchange, and an added layer of fun in your restaurant. Indeed, a lively restaurant wouldn’t be complete without one! Enjoy the vibrant interactions this Community Cork Board will facilitate, and take pride in the communal space you’ve created.
The Rewards of Building a Community Cork Board
Building a Community Cork Board isn’t just a fun project; it’s an investment in your restaurant’s ambiance and sense of community. With every pin and post, your patrons are given a platform to share, communicate, and connect, adding a unique dimension to their dining experience. Over time, this simple board transforms into a compelling collage of community life, reflecting the dynamism and diversity of your patrons and your local area.
Tool Recommendations
Note: When you make a purchase through our links, we may earn commissions from Amazon, ClickBank or other retailers at no extra cost to you. Our recommendations are based on our personal and professional experience using products we suggest, and we recommend them because we believe they are genuinely helpful, not because of the small commissions we may receive. Please only purchase a product if you believe they will help you achieve your goals.
Beyond by BLACK+DECKER Home Tool Kit with 20V MAX Drill/Driver – There are many slightly cheaper alternatives for tool kits with a drill, but we chose to recommend this starter kit because it’s from Black and Decker. It comes with stronger drill bits, screwdriver bits, and tools. You can’t use this for building a deck, fixing a roof, repairing your car, or anything else that is considered hardcore, but it’s great for furniture assembly, fixing bikes, and simple repairs. The quality is a step up from the DEKOPRO unit we recommend below, because this kit also comes with a drill/driver. It’s a good starting package for DIY enthusiasts who would like to learn how to fix things around the house. Amazon.com | Amazon.ca
DEKOPRO 150 Piece Tool Set – The tool set is outfitted with an assortment of tools to help you tackle household jobs. It contains essentials needed for most small repairs, furniture assembly, and basic DIY projects around the house, plus, it comes in a rugged case for easy transportation. It’s not too expensive, however, it‘s best used for simple repairs. We don‘t recommend using this set to fix your car, or for any long term hard labor, like decking or fixing a roof. Otherwise, it‘s a great set to have for emergencies, and it makes a thoughtful gift for men. Amazon.com | Amazon.ca
38-Piece Magnetic Ratcheting Screwdriver Set – For IKEA and similar furniture, it’s always a good idea to tighten everything down by hand. This little set has all the bits needed to complete a furniture assembly project. As a bonus, it has a ratcheting system, so you don’t have to reposition your grip after each twist. It also has a magnetic tip, and you can store bits inside the handle. Neat! Amazon.com | Amazon.ca
Tool Purchases to Avoid
For this project, there are tools that are needed, and then there are tools that should be avoided. The following are a few tools that you should absolutely never purchase!
Corded or Battery Powered Drill With No Slip Clutch For Torque Control – Never use a drill with no torque control for furniture assembly. Period. It will cause your screws to strip the threads of the pre-drilled holes, or worse, it will drill the screw right through the board and into your floor. Best to avoid ever buying a drill with no torque control.
Looking to Boost Your Restaurant’s Community Spirit? We’re Here to Help!
Creating a Community Cork Board can be a fulfilling project, but it may also require a touch of professional craftsmanship. That’s where we step in. We can assist you in designing and constructing a community board, and even other unique custom projects that will enhance your restaurant’s ambiance and customer engagement.
Explore more of our completed Custom Projects in our gallery. And if you haven’t yet, take a look at our offered services: Handyman Services » Custom Build Services and Handyman Rates.
Contact Us today. We’re excited about the possibility of collaborating with you. Until then, warm regards from Handyman And Designs.