
From Fur Shop to Gallery Studio—A Montréal Transformation

From Fur Supply Store to Showroom: The Gallery Studio Conversion
We gave an empty space a storyline: from napkin sketches to 3D concepts, to bricks, stone, raised floors, and walls that finally deserved fresh paint. It’s a step-by-step playbook that ends with less dust on the floor and more pride in a final epic finish! What follows on this page is the whole journey—concept renders, demolition, faux textures, flooring layers, and the little details that pulled it all together into a working Gallery Studio.
For additional projects like this, have a browse through our gallery, and for extra pro‑level pointers, we like the no‑nonsense tips from This Old House. Measure twice, joke once, but Build Right!
Table of Contents
- 1. First Walkthrough—Where a Layout Meets a Vision
- 2. From Sketch to 3D Reality
- 3. The Big Open-Up
- 4. Texture, Not Weight—Faux Brick
- 5. Brick Meets Stone—Modern + “Ancient”
- 6. Panels Up and Plaster Down!
- 7. Feathered Edges—Brick to Smooth
- 8. Platform + Overhang + One Less Door
- 9. Subfloor—Squeak Insurance
- 10. Underlayment—Soft Steps, Happy Ears
- 11. Paint—Ceiling First, Always
- 12. Final Reveal—Concept, Realized
- Tool Recommendations
- Need Help with a Project?
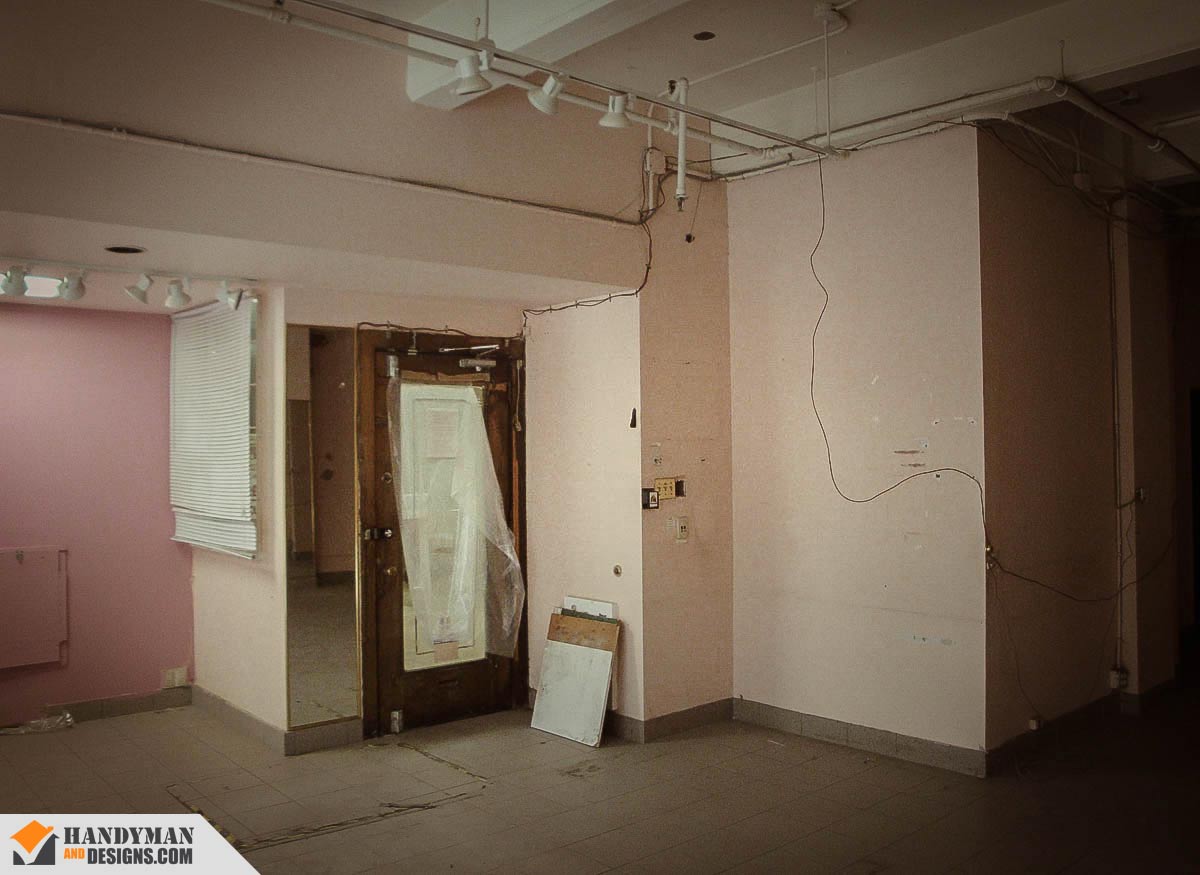
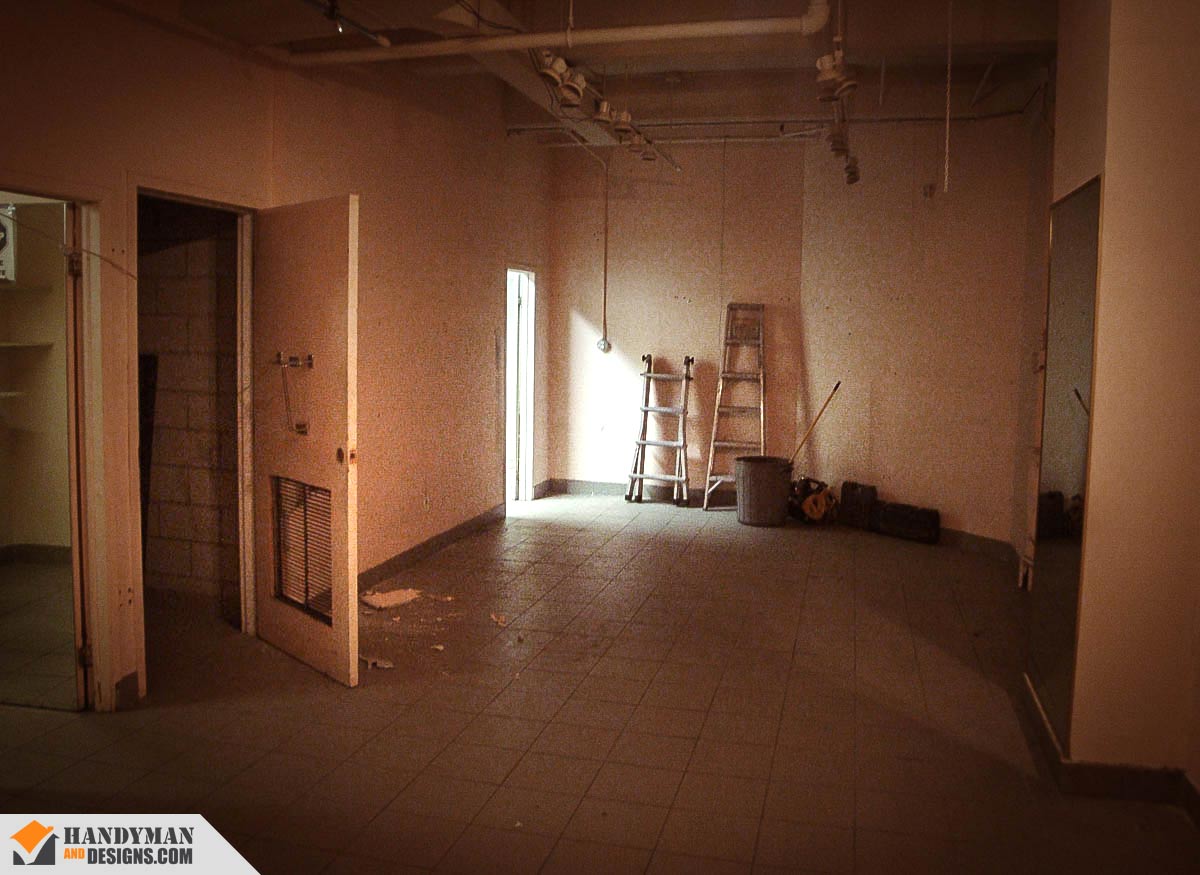
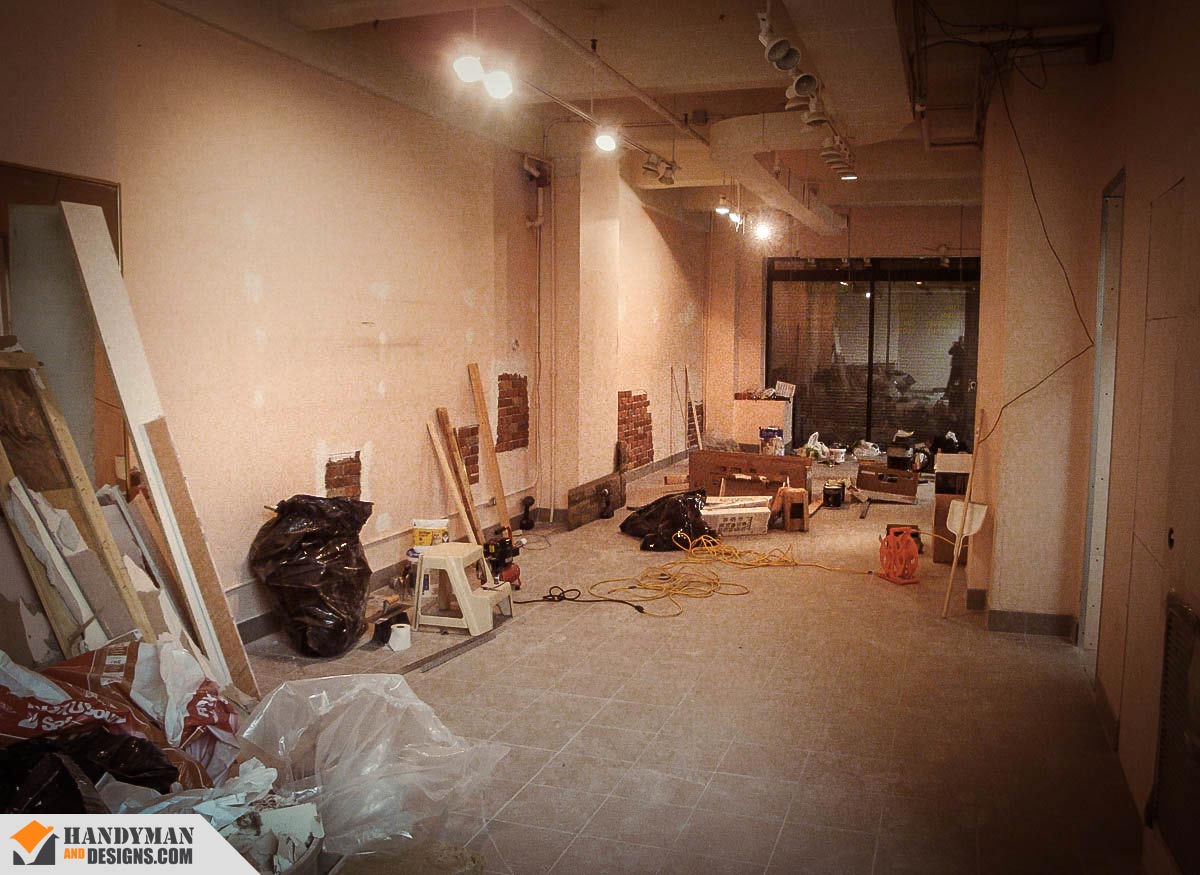
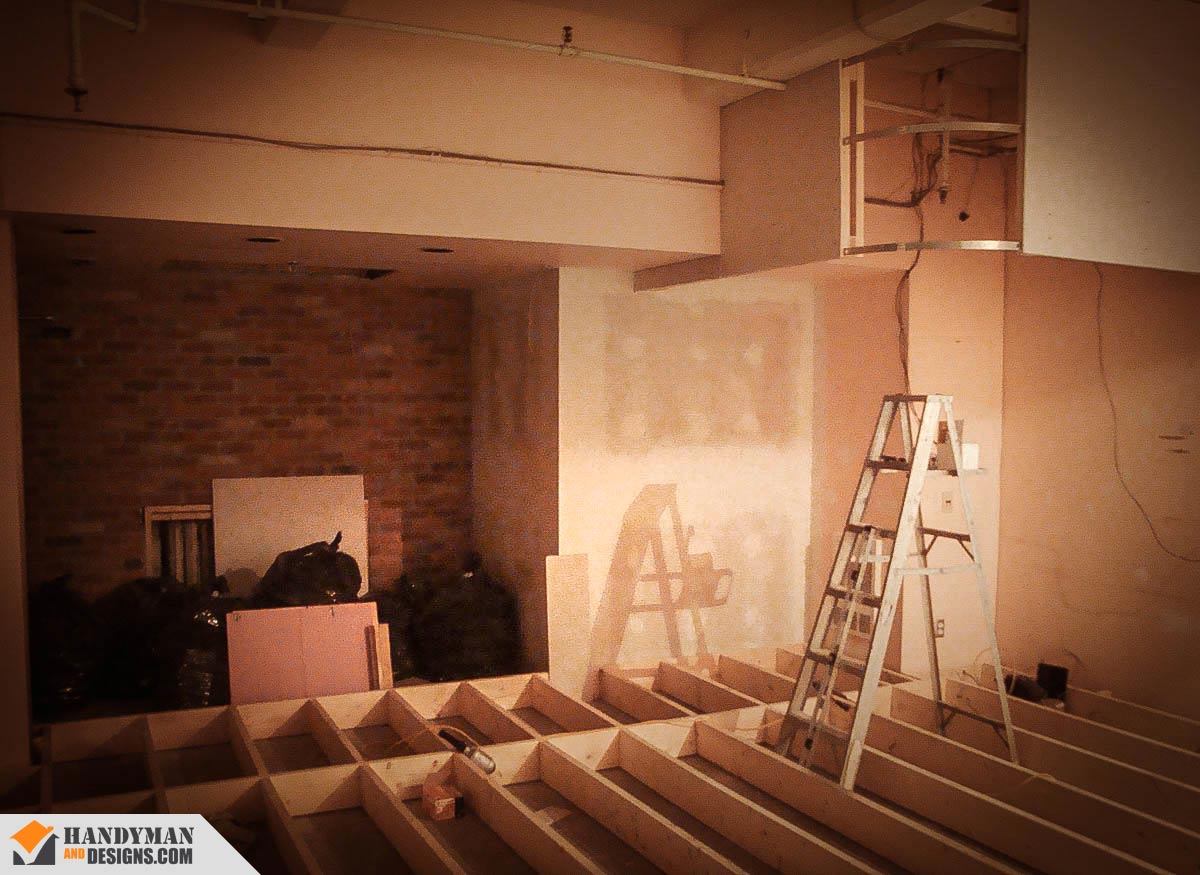
First Walkthrough—Where a Layout Meets a Vision
Former fur supply shop, future Gallery Studio. Long hallway, bright front for greetings, and a back zone begging to become a social nook, but first we had to liberate the back from its captive storage wall.The Plan?? Keep the charm, ditch the clutter, and coax a glorious art space out from hiding!

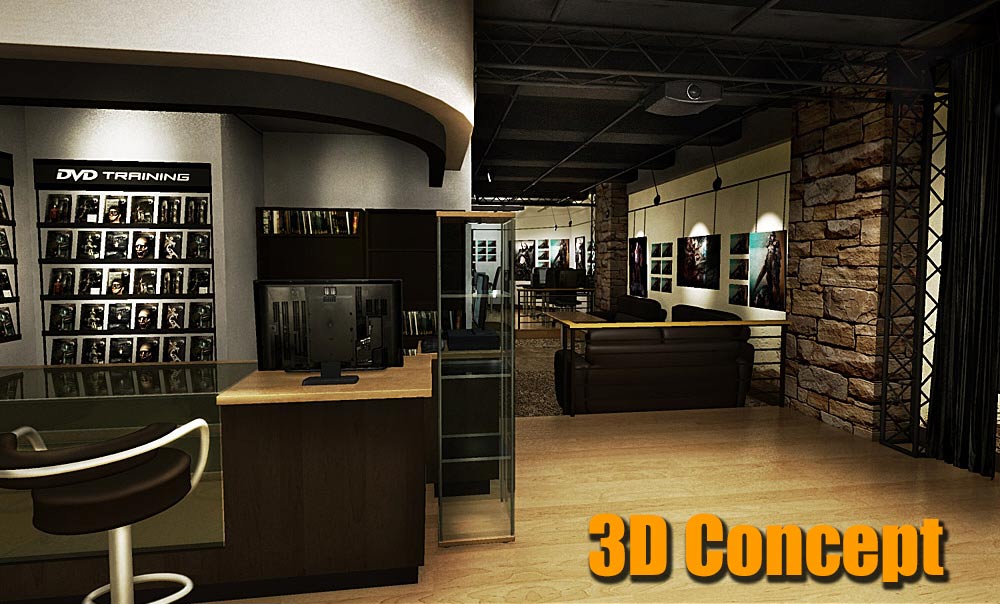

From Sketch to 3D Reality
We leveled napkin doodles into crisp 3ds Max concept—line by line, wall by wall, with coffee doing its best as project management. The render let us catch the “oops” moments before a single speck of dust met a broom. Call it a map, a mood board, or a sanity saver; either way, model once, measure twice, and always, and we do mean ALWAYS, do start with a Plan!!
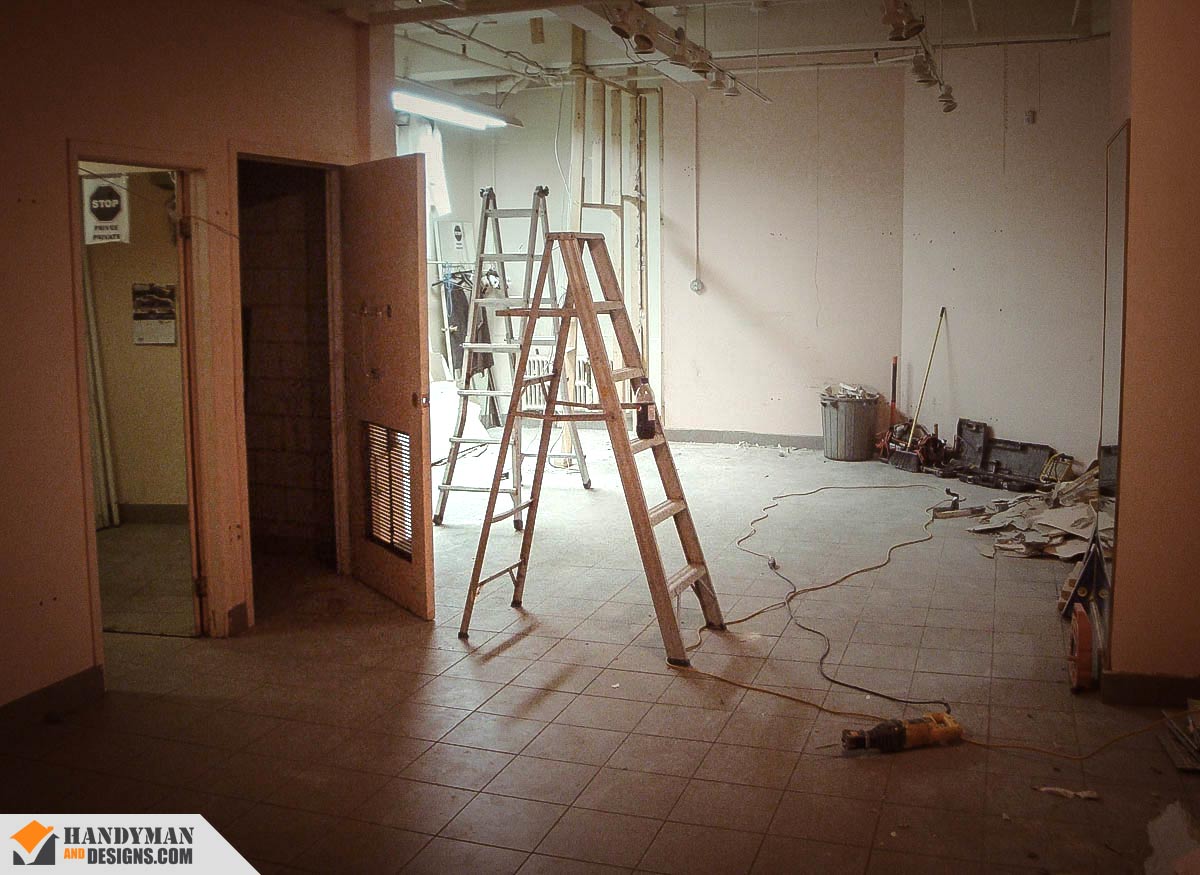
The Big Open-Up
Nothing says “fresh start” like taking down a wall that’s been hogging the spotlight. A few swings, a little dust, and suddenly the room was wide open—like it had been waiting for years to breathe.
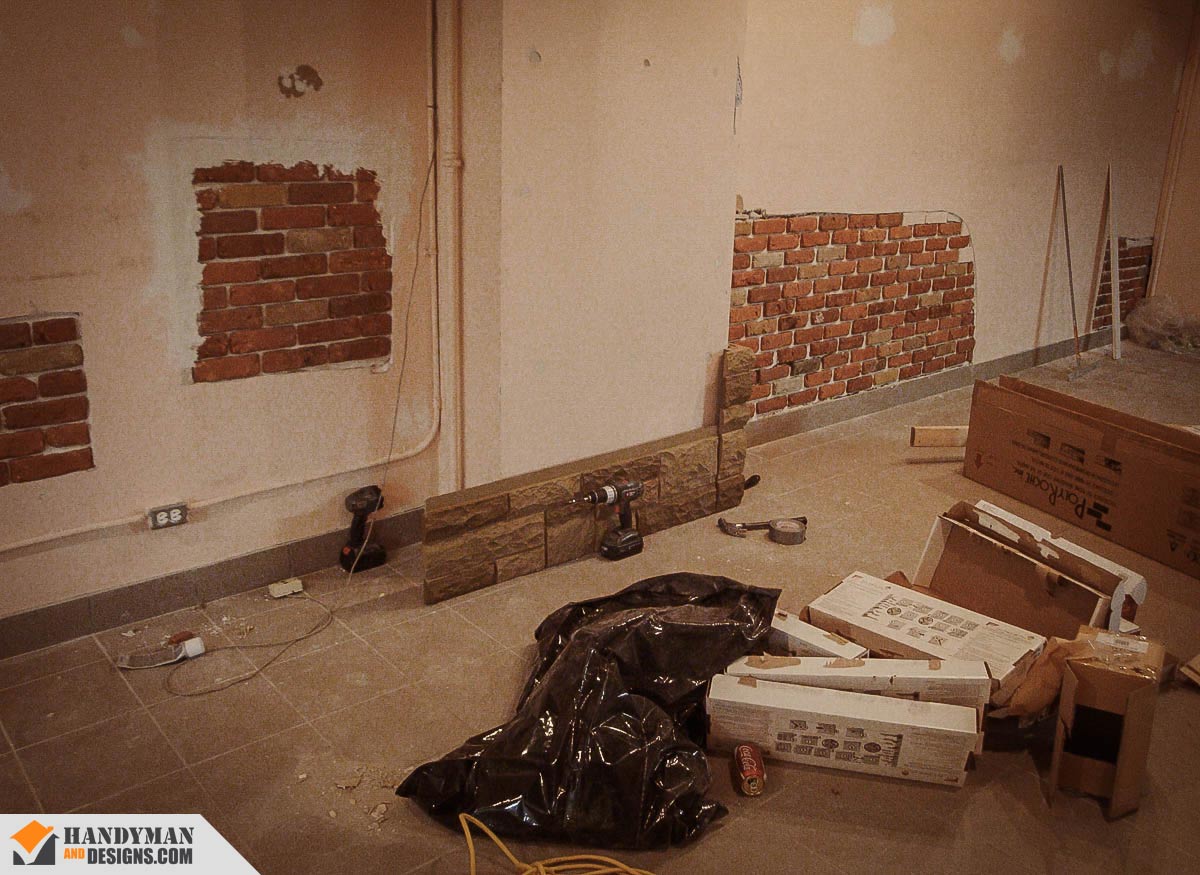
Texture, Not Weight—Faux Brick
We inset brick “windows” into the walls for warmth and character without turning the place into a castle. A few focused patches beat a full brick takeover—balanced, gallery-ready, and easy on the eyes.
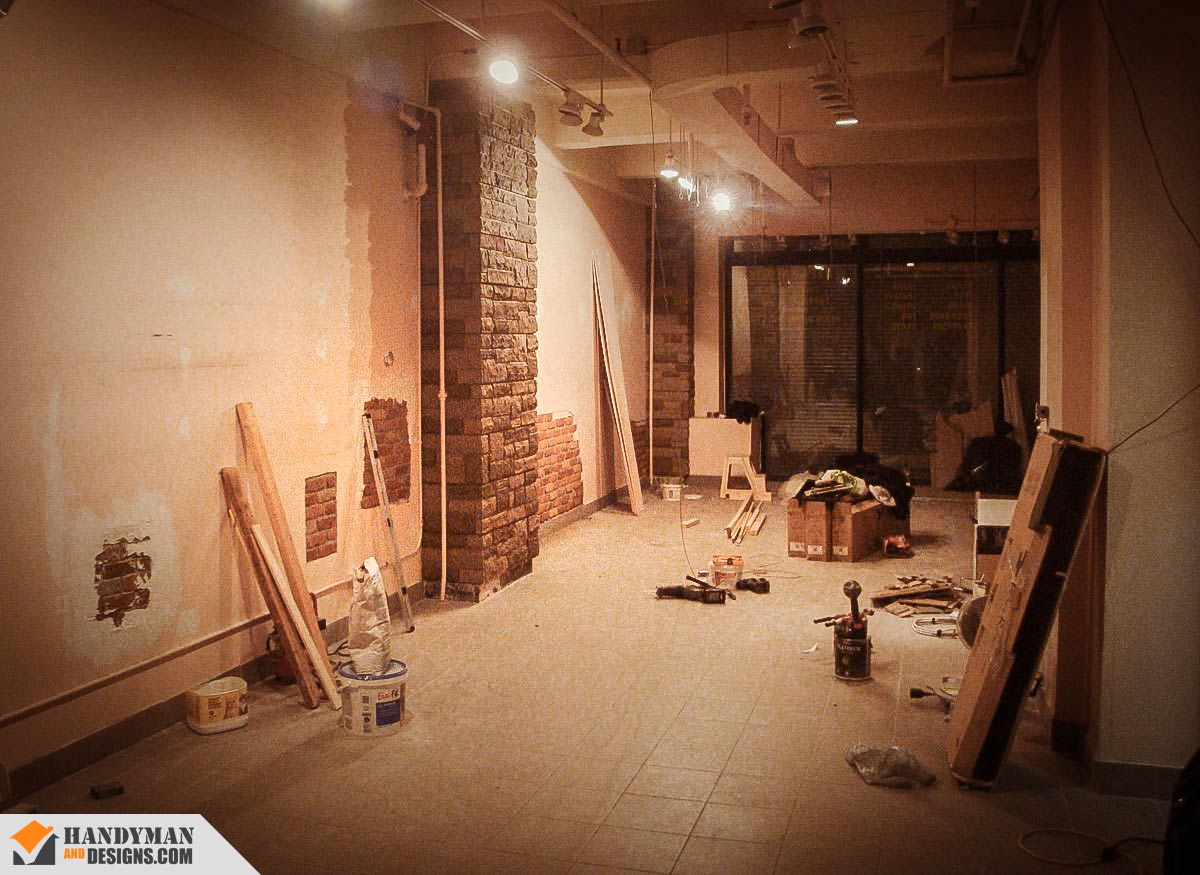
Brick Meets Stone—Modern + “Ancient”
Cement pillars got a level-up with faux stone—castle energy, manageable footprint. We glued the panels to the columns and added a few masonry screws for extra strength. Basic cement pillars, upgraded with old-world attitude. Do we like? YES!
Panels Up and Plaster Down!
With the stone set and brick seated, we moved to plaster—because great transitions don’t shout “look at me, I am a fake addition!” Dry time, check. Trowels out, check. The room started trading “construction site vibes” for “Intentional Texture Charm.”
Feathered Edges—Brick to Smooth
We skimmed the brick edges with layers of plaster to blend the seams with the flat walls, mimicking those timeworn reveals you see in old lofts. It’s part art, part patience, and 100% worth it for when viewers glance at the wall and can’t tell where the brick ends and plaster begins.
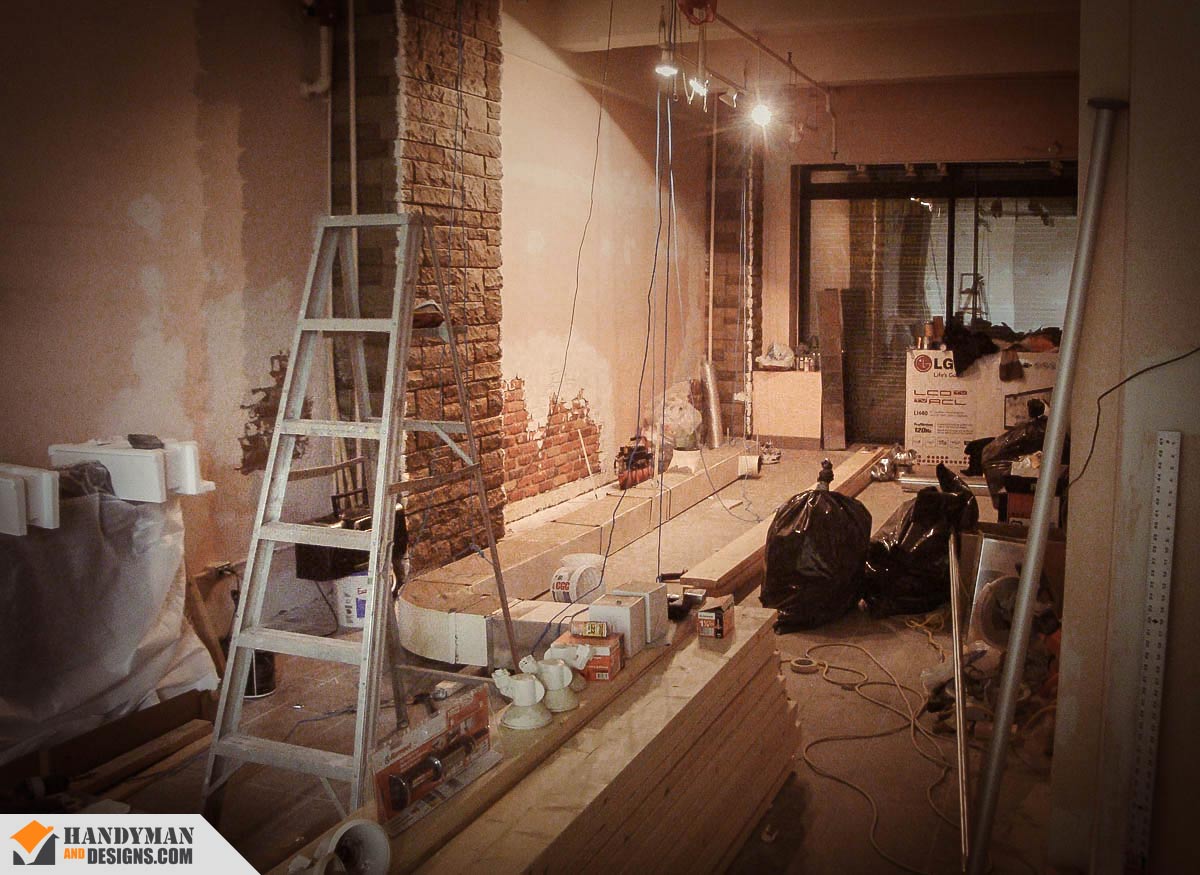
Platform + Overhang + One Less Door
Next up, we framed an elevated floor and built a ceiling overhang/counter top (on top-top). An old doorway that didn’t serve the layout? Capped. Two doors—front and rear—were plenty for greetings, sittings, and exits.
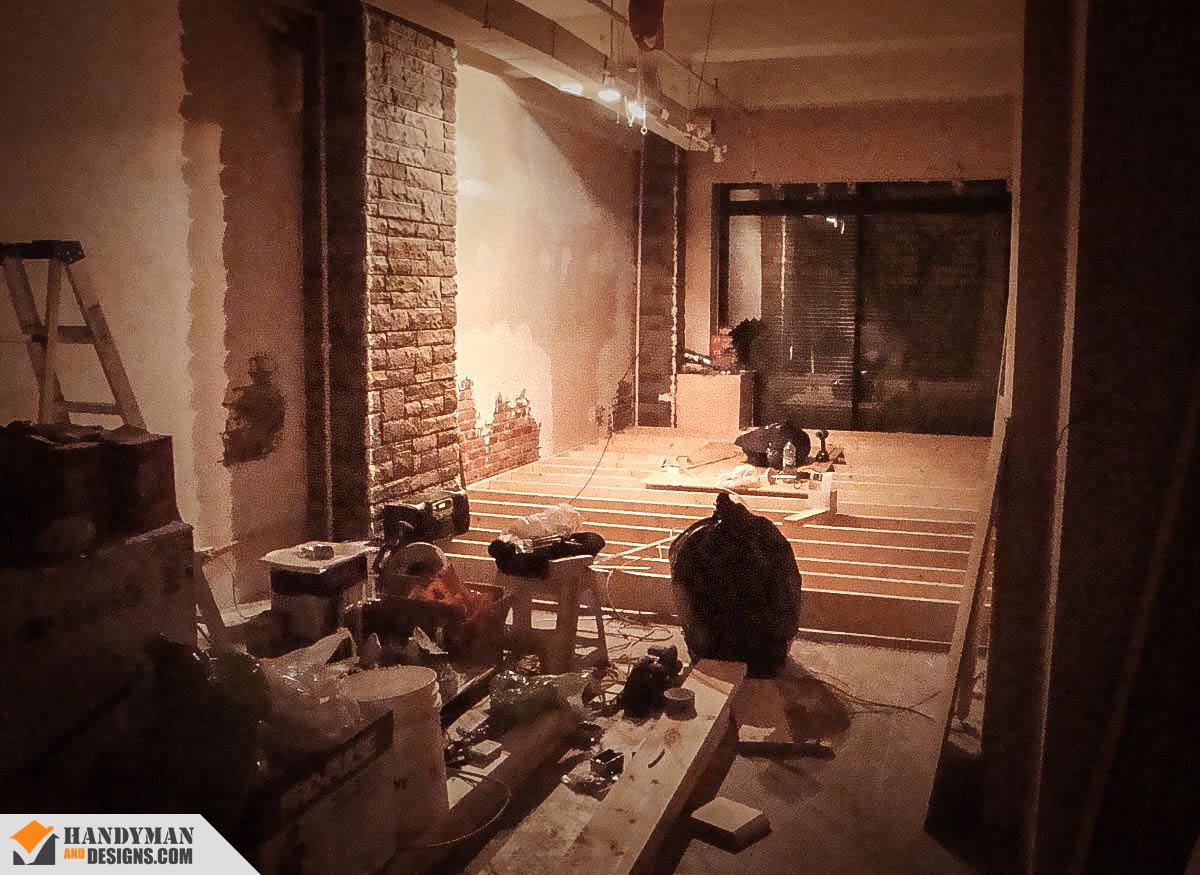
Subfloor—Squeak Insurance
4×8 panels went down over the joists, glued and screwed like we mean it. That combo keeps things tight, quiet, and ready for long days of footsteps and display changes.
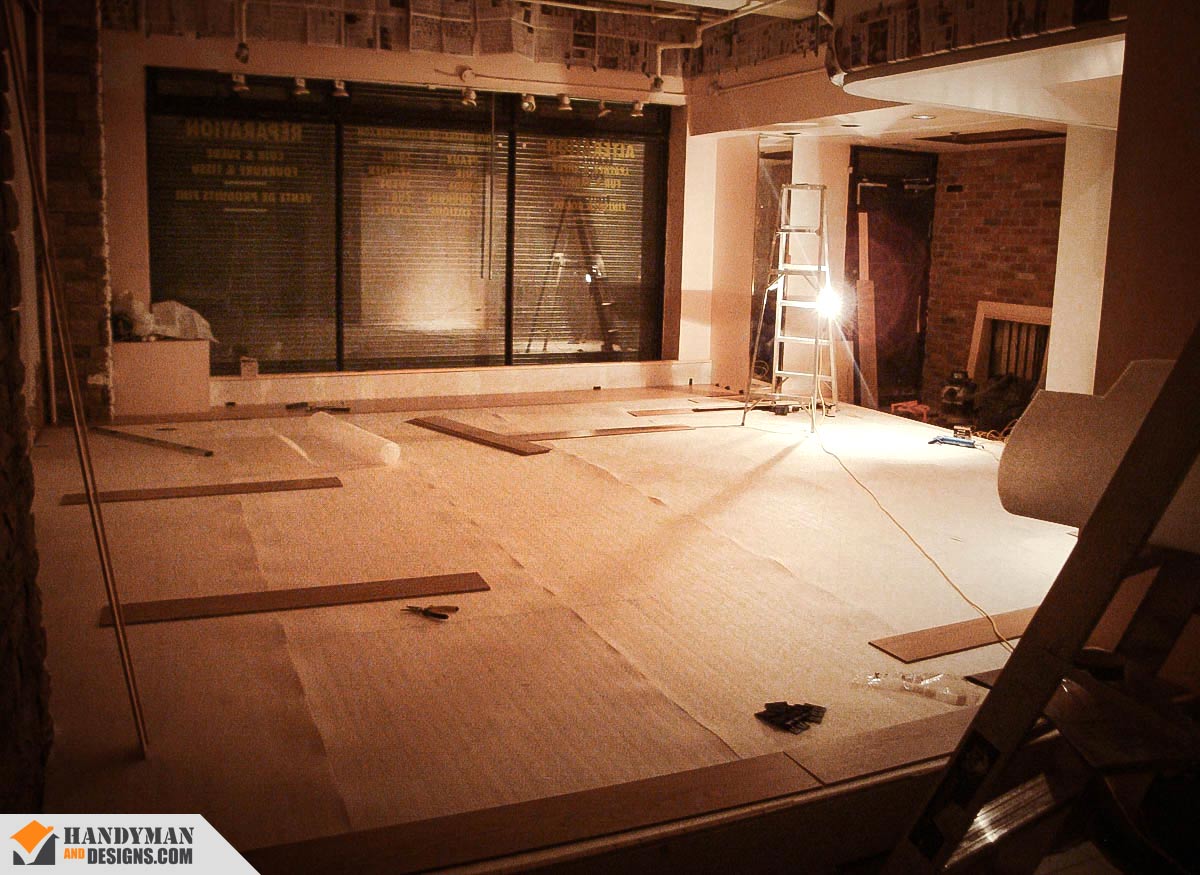
Underlayment—Soft Steps, Happy Ears
Foam sheeting over the subfloor smooths uneven sub-floor surfaces, hushes footsteps, and preps the stage for laminate flooring. It’s the hidden magic that you only notice when it’s missing.
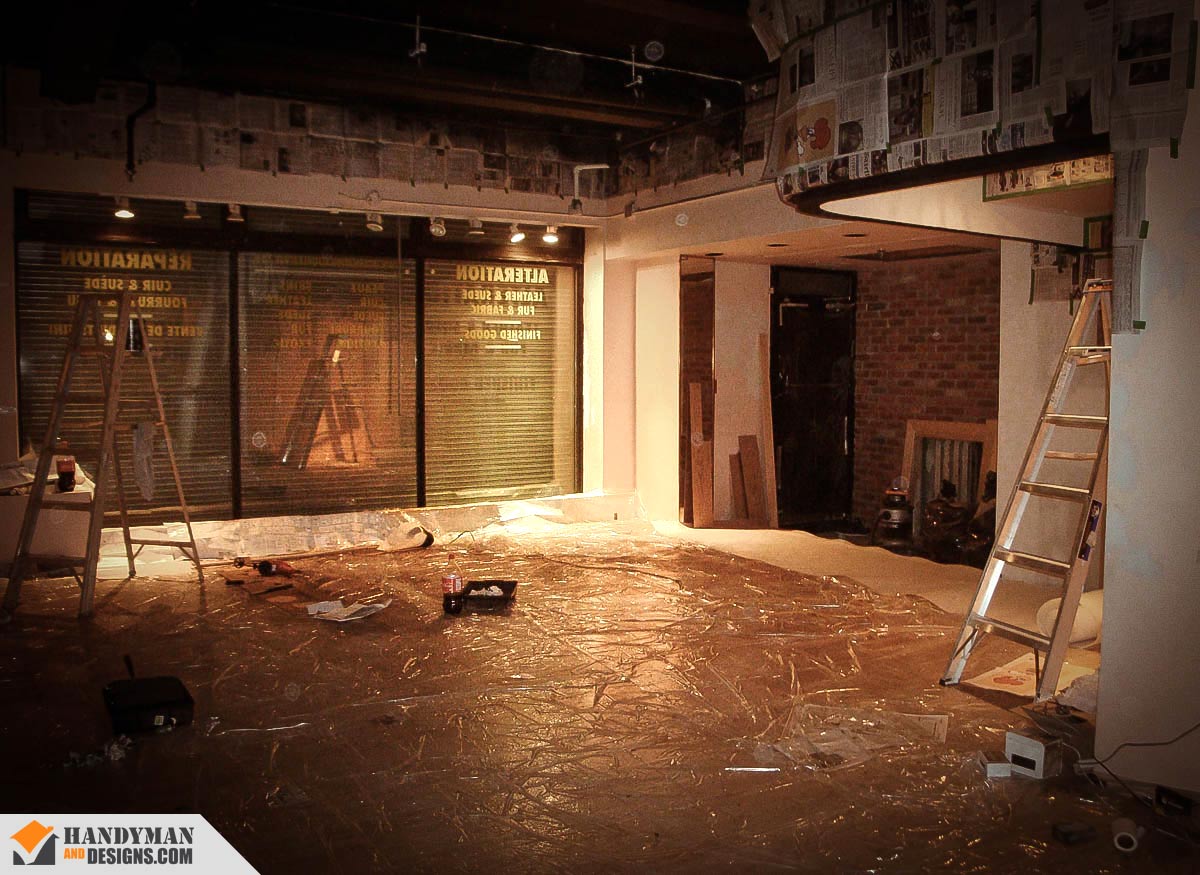
Paint—Ceiling First, Always
Top down, that’s the professional rule. The ceiling got its makeover first—less drip drama, cleaner edges, and walls that didn’t have to suffer collateral splatter.

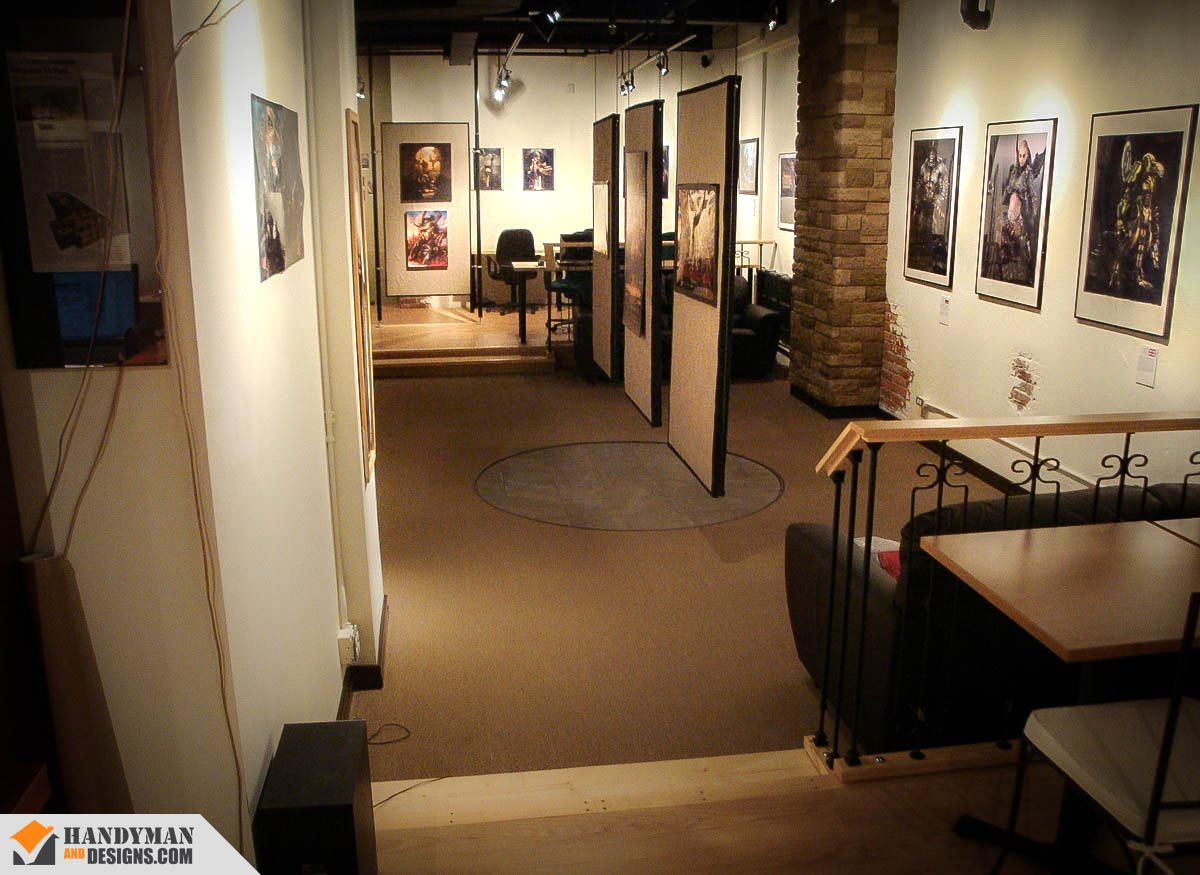
Final Reveal—Concept, Realized
Front entrance view: a near match to the 3ds Max created concept. That’s the power of a clear destination—less guessing, more building. Like LEGO with a blueprint: fewer weird hilltops, more small victories that add up to a final and proper “Wow!”
Tool Recommendations
Outils recommandés
Note: When you make a purchase through our links, we may earn commissions from Amazon, ClickBank or other retailers at no extra cost to you. Our recommendations are based on our personal and professional experience using products we suggest, and we recommend them because we believe they are genuinely helpful, not because of the small commissions we may receive. Please only purchase a product if you believe they will help you achieve your goals.
Note : Lorsque vous effectuez un achat via nos liens, nous pouvons recevoir des commissions d’Amazon, ClickBank ou d’autres détaillants, sans frais supplémentaires pour vous. Nos recommandations sont basées sur notre expérience personnelle et professionnelle avec les produits que nous suggérons, et nous les proposons parce que nous croyons qu’ils sont réellement utiles, pas à cause des petites commissions que nous pourrions toucher. Achetez seulement si vous pensez que ces produits vous aideront à atteindre vos objectifs.

DEWALT Compact Table Saw, 8-1/4-Inch (DWE7485)
Compact, yes. Compromised? No! The DEWALT DWE7485 is built to travel without skimping on power or precision. With rock-solid alignment features borrowed from larger models, it’s the table saw that’s just as comfortable in your workshop as it is in your truck bed.
View on Amazon
DEWALT Scie sur table compacte, 8-1/4 po (DWE7485)
Compacte, oui. Compromise ? Non ! La DEWALT DWE7485 est conçue pour se déplacer sans sacrifier la puissance ni la précision. Avec des options d’alignement solides empruntées aux modèles plus grands, c’est la scie sur table aussi à l’aise dans votre atelier que dans la boîte de votre camion.
Voir sur Amazon

Franklin ProSensor M210 Stud Finder
We love using this over the old-school single line finders—it’s like trading a flashlight for a floodlight. The wide sensor array shows the stud edges and centers clearly, so no more guesswork or misplaced screws. Add in wood, metal, and live wire detection, and you’re working smarter, not riskier.
View on Amazon
Détecteur de montants Franklin ProSensor M210
On adore utiliser ce modèle plutôt que les vieux détecteurs à une seule ligne — c’est comme passer d’une lampe de poche à un projecteur. La large matrice de capteurs montre clairement les bords et le centre des montants, donc fini l’improvisation et les vis mal placées. Avec la détection du bois, du métal et des fils sous tension, vous travaillez plus intelligemment, moins risqué.
Voir sur Amazon

DEWALT Compact Hammer Drill/Driver Kit
Why juggle two drills when one can play Both Roles? The clutch lets you dial in the finesse for delicate tasks such as ikea furniture assembly, while hammer mode unleashes beast mode for masonry and brick. Furniture today, fortress tomorrow—this drill doesn’t mess around!
View on Amazon
DEWALT Ensemble de perceuse/visseuse à percussion compacte
Pourquoi jongler avec deux perceuses quand une seule peut jouer les deux rôles? L’embrayage vous permet d’ajuster la finesse pour les tâches délicates comme l’assemblage de meubles IKEA, tandis que le mode percussion libère la bête pour la maçonnerie et la brique. Meubles aujourd’hui, forteresse demain — cette perceuse ne niaise pas!
Voir sur Amazon

WEN MM0713 7.25-Inch Compact Sliding Miter Saw
Compact, clever, and easy to carry—this saw won’t break your back before you cut your first board. The built-in laser guide makes you look like a precision wizard, even if you still measure twice (or thrice). Best of all, the sliding rails move inward, so you can push it right up against a wall instead of losing half your garage space.
View on Amazon
WEN MM0713 Scie à onglets coulissante compacte 7,25 po
Compacte, astucieuse et facile à transporter — cette scie ne vous brisera pas le dos avant même de couper votre première planche. Le guide laser intégré vous fait passer pour un magicien de la précision, même si vous mesurez encore deux (ou trois) fois. Et le meilleur? Les rails coulissants se déplacent vers l’intérieur, ce qui vous permet de la coller directement contre un mur sans perdre la moitié de l’espace de votre garage.
Voir sur Amazon
Tool Purchases to AvoidAchats d'outils à éviter
Not every tool on the shelf is worth a spot in your precious toolbox. Skip the ones that slow you down, break too soon, or test your sanity more than your skills—the list below highlights a few worth avoiding.
Tous les outils sur la tablette ne méritent pas une place dans votre coffre. Évitez ceux qui vous ralentissent, qui cassent trop vite ou qui mettent plus à l’épreuve votre patience que vos compétences—la liste ci-dessous en présente quelques-uns à éviter.

Fixed Miter Saws
A Fixed Miter Saw can chop, but when you try to cut anything wider than a 2x4, you’ll hit the brakes HARD! The lack of a rail means your projects will feel stuck in “Start Game” mode forever. Investing in a sliding rail model gives you flexibility, cleaner cuts, and fewer regrets down the road. Spend the few extra bucks, and save the headaches!
Scies à onglets fixes
Une scie à onglets fixe peut couper, mais dès que vous essayez de trancher plus large qu’un 2x4, vous allez freiner SEC! Sans rail coulissant, vos projets resteront coincés en mode « Débutant » pour toujours. Investir dans un modèle à rail coulissant vous donne plus de flexibilité, des coupes plus propres et moins de regrets à long terme. Dépensez quelques dollars de plus et épargnez-vous les maux de tête!

Metal Self drilling anchors
Metal self-drilling anchors might look tougher, but they’re actually quitters in disguise. Unlike plastic anchors that absorb vibrations, metal ones slowly grind away at the drywall with every little shake. That means your curtain rod will hold—for about a year—before crashing down at the worst possible moment! (fat cats be warned!)
Chevilles métalliques autoperceuses
Les chevilles métalliques autoperceuses peuvent sembler plus solides, mais ce sont en réalité des abandonneuses déguisées. Contrairement aux chevilles en plastique qui absorbent les vibrations, les modèles en métal creusent lentement le gypse à chaque petit mouvement. Résultat : votre tringle à rideaux tiendra… environ un an — avant de s’écraser au pire moment! (attention aux gros chats!)
Designing Gallery Studios, One Detail at a Time
We had a blast turning a former fur supply shop into a working Gallery Studio. From solid 3D plans to selective demolition, faux brick and stone, raised floors, and a calm paint palette—every step was part puzzle, part craft, and a tiny bit of “does this idea still make sense after coffee?” The result? a flexible space that can host art, workshops, or a last-minute photo shoot without breaking a sweat.
- Want more inspiration? Peek at our other Special Projects
- Curious about real-world builds? Browse the Photo Gallery
- Need practical tips? Our DIY Blog is full of experiments that worked (and a few that didn’t)
- Thinking of planning your own space? Drop us a line through our Contact Page
Designing a studio is basically adult LEGO with fewer lost pieces—layout, texture, lighting, repeat. We love tinkering, testing, and occasionally laughing when a “brilliant idea” becomes a five-hour detour. If you want a space that works as hard as it looks, we’re happy to help.